« September 2013 »
S M T W T F S
1 2 3 4 5 6 7
8 9 10 11 12 13 14
15 16 17 18 19 20 21
22 23 24 25 26 27 28
29 30
You are not logged in. Log in
Entries by Topic
All topics  «
3D paperwork
A - Z challenge 5
A - Z challenge 7
A - Z challenge round 4
A to Z challenge round 3
A to Z round 2
A to Z round 6
A-Z round 1
Around the House
Art Challenges
Artist Trading Cards
Backgrounds
Beads
Bible Journaling
Books
Boxes
Collage
Color Challenge
Coloring
cookbook
Die Cuts
Digital Projects
Digital Stamps
Drawing
Dry Embossing
Fabric Stuff
Fantastic Folds
Field Trip
Home Decor
How Does Your Garden Grow?
Hymnal Art
In The Kitchen
In the studio
Jewelry
Lettering
Links
Multi-Technique
Music to Work By
Musings
Nail Art
New Work
Online Class
Other Hobbies
Other Projects
Painting
Paper Embroidery
Paper Piecing
Photo
Pretty Paper
Quilting
Random
reading
Scrap Recovery
scrapbooking
Sewing
Sketch Challenge
Some Backlog
Stamping
Stencils
Stickers
Supplies
Teabag Folding
Techniques
Testing
tips and tricks
Tutorial
Web resources
Welcome to my Blog
Work By My Friends
workflow
Writing
Blog Tools
Edit your Blog
Build a Blog
RSS Feed
View Profile
Group One
In & Out of Studio 3D
Monday, 16 September 2013
Branching Out
Topic: Die Cuts

Start with a piece of white cardstock... that's the way this card began.

I sponged the cardstock with three Distress Inks (a yellow orange, a red, and a brown. Then I used a brown chalk ink to stamp a script in the background, wiping some of the ink off before stamping. I used a leafy branch die to cut from three solids and two printed papers. [BY THE WAY: I hate this die. Love the design but getting it to cut cleanly all the way through and release the leaves from the background is a giant, annoying pain.]

I glued all the leaves on the background, rounded the corners and sponged the edges with brown ink.


The feature panel is mounted on a dark green card base with rounded corners. A stamped sentiment on green is bordered in brown.

Ddd 


Posted by studio3d@ccgmail.net at 12:01 AM PDT
Sunday, 15 September 2013
Some Of My Hangups
Topic: Paper Embroidery

The hardest part about using these ornament stitching stickers was cutting out the little ornament hooks! I did the stitching before the cutting so I wouldn't keep catching the thread on the hook and leaving tape overhanging the edges. This worked out very well.

After I stitched the string of lights I used a craft knofe to make a slit in the loops so the ornament hooks would slide in there. Then the ornaments were stuck down with foam tape.

A Christmas paper was used for the background and I added a gold peel-off sticker for the sentiment.

Ddd 


Posted by studio3d@ccgmail.net at 12:01 AM PDT
Saturday, 14 September 2013
Purple Bells
Topic: Paper Embroidery

Stitching stickers today are gold and red bells on purple. I rounded the corners and mounted on a gold on gold text page, also with rounded corners.

I wanted to do something unexpected with the background so I covered the purple card base with a parchment printed with gold snowflakes.

With the text on the backing paper I didn't need to add a sentiment.

Ddd 


Posted by studio3d@ccgmail.net at 12:01 AM PDT
Friday, 13 September 2013
We've Got Snow
Topic: Paper Embroidery

Actually, we've got snowMEN. On a card. That was the assignment coming up in a couple of months and I decided to get ahead of the curve and make it now.

I had the oval cutout left over from a different project and used a stitching sticker for the snowman. I mounted it on foam tape over a shimmer green panel with rounded corners.

The snowman paper was just too perfect to miss out on. I love all the goofy faces on them.


A littlepen doodling around the oval and a couple of shiny red text stickers finish it off.

Ddd 


Posted by studio3d@ccgmail.net at 12:01 AM PDT
Thursday, 12 September 2013
Onions Big, Onions Little
Topic: How Does Your Garden Grow?

In the past I have grown sweet or yellow onions from sets and had only marginal success with the bulbs only getting about 2 inches across. This year the store did not have any sets but had starts instead. So I planted these and, WOW! They took off! I don't think a single one failed and I have probably 15 to 20 pounds of sweet onions.


I still did the green onions in a barrel from seeds and they have done really well this year as well.

You can see bare spots where we have been pulling these for snacking.

Ddd


Posted by studio3d@ccgmail.net at 12:01 AM PDT
Wednesday, 11 September 2013
Eat What 'Maters
Topic: How Does Your Garden Grow?

In past years I have had such poor luck with tomatoes that I planted more this year. I figured that if yield was down I could compensate that way.

Wouldn't you know it ALL of the plants are heavy with fruit. I planted three each of cherry tomatoes and large grape tomatoes (I thought they were Roma) and 9 (yes NINE) of slicing tomatoes.

None of the slicing tomatoes have ripened yet so we are eating ones shared by a neighbor. These are some of mine:


We have been eating the cherry tomatoes though and are getting a handful every day


Love summer fruit!

Ddd


Posted by studio3d@ccgmail.net at 12:01 AM PDT
Tuesday, 10 September 2013
That's A Little Corny
Topic: How Does Your Garden Grow?

Update on the garden. We have had great success with the new corn patch this year. Big, tall stalks and well polinized. However, I may have planted too densely.


We've only had one ear of corn harvested yet but you can see it is coming right along.


LOVE fresh corn on the cob.

Ddd


Posted by studio3d@ccgmail.net at 12:01 AM PDT
Monday, 9 September 2013
Roll On!
Topic: Quilting

Today I'm sharing NOT a quilting project but the wonderful birthday gift my hubby gave me.

Yes, that IS an entire roll (40 yards) of quilt batting. We already had big eye hooks in the ceiling so he got some high test chain and some snap hooks and mounted it so I can roll off and cut what I need.


Yes, I really am short enough to stand up under it without knocking my head!


You can also see that I moved my loom into the quilt studio. I guess this technically makes it a 'fiber' studio as I also do sewing here that is not quilting.

Ddd


Posted by studio3d@ccgmail.net at 12:01 AM PDT
Sunday, 8 September 2013
That's A Little Flakey
Topic: Paper Embroidery

Stitching sticker snowflakes mounted on pink dot cardstock were stitched in maroon thread for today's card. I love this combination for a non-traditional winter card.

The stitched panel was mounted on maroon to match the thread and then a white card base.


Leaving off a sentiment allows this card to be used for Christmas OR Winter, extending the 'shelf life'.

Ddd


Posted by studio3d@ccgmail.net at 12:01 AM PDT
Saturday, 7 September 2013
Winter Cheer
Topic: Paper Embroidery

One of the stitching sticker sheets had lots of stars on it so I gathered several sizes and prickeing patterns and combined them on one sheet of shiny silver cardstock. The bird is a stitching sticker too though it is just the eye that is done.

I mounted on a shiny dark blue cardstock to echo the blue metallic thread in the stitching. A red card base echoes the bird color.


The sentiment is a Dazzles sticker.

Ddd


Posted by studio3d@ccgmail.net at 12:01 AM PDT
Friday, 6 September 2013
To Be Jolly
Topic: Paper Embroidery

Three stitching stickers were combined on a green background for a grouping of ornaments. They are stitched with metallic thread and the hanging 'chains' extended with more stickers.

As usual the metallic background paper (purple around the edge) does not play nicely with the camera which darkens everything when there is too much shine.


Apparently I am NOT smarter than the camera because I can' make it stop doing this.

Ddd


Posted by studio3d@ccgmail.net at 12:01 AM PDT
Thursday, 5 September 2013
Peaceful Forest
Topic: Paper Embroidery

I whipped up more Christmas cards with the stitching stickers. For this one I started with one large tree and 4 itty-bitty ones on green dot cardstock. The big tree was stitched with red metallic thread and the panel was mounted on a red card base.


The sentiment is a Dazzles sticker.

Ddd


Posted by studio3d@ccgmail.net at 12:01 AM PDT
Wednesday, 4 September 2013
Tea Time
Topic: Paper Embroidery

Tea Time was the assigned theme for a recent paper embroidery swap. I first pulled out the 3D element and then selected a neutral background cardstock in shimmer finish. The corner swirl was pricked out and then I pulled colors from the illustration for the thread.


The butterflies were included with the 3D sheet and the greeting is a silver peel-off sticker.

I bordered with purple on the left and right to bring the card up to a standard size.

Ddd 


Posted by studio3d@ccgmail.net at 12:01 AM PDT
Tuesday, 3 September 2013
Spellbinders Cut and Tuck
Topic: Die Cuts

I recently got a new set of Spellbinders dies that has three sizes and patterns of cut and tuck medallions. The die cuts out the item as well as all the inner slices that allow you to fold back a 'V' shape and tuck it under the vacated 'V' from the neighboring cut.

I picked out the two smaller dies to play with. I used all shimmer materials - a duo tone paper for the medallions and cardstock for the embossed background as well as diecut scallops to frame the medallions.

The smaller medallion has additional cut out areas so has a more lacy feel. For the card with two pink shimmers I used an asian embossing folder.


For a green and blue combo I used the folder called Ornamental Iron. I added a scalloped border at the bottom to balance out the sentiment. (the camera has some issues will all this shine and texture)


Then I used the same sets of papers with the large medallion. The pink version got a fleur-de-lis embossed background.


And the blue/green version got embossing of bamboo.


I turned all of these into Thank You cards with the sentiments popped up on foam tape. Also, in each case the medallion got a rhinestone as a centerpiece.

Ddd 


Posted by studio3d@ccgmail.net at 12:01 AM PDT
Monday, 2 September 2013
Starring You
Topic: Die Cuts

As I work on projects I take all the little leftover bits and toss them in a bin together. Occasionally, I will spread these contents out and pull some things together that I think will make a good combination. That's how I came up with today's card.

I had the punched stars from that slew of patriotic cards. The salmon diecut swirls were the last two left from a whole packet that someone had sent me in a swap. When I remembered that I had this sentiment already stamped on white cardstock, the plan started coming together.

I used a Spellbinders die to cut out the sentiment and, while it was still in the die, I used Distress Ink to sponge the same color as the swirls onto the center, leaving a white border. I used a second color of Distress Ink to sponge the edges to match the stars (They are really a very dark blue, not place as they appear).

I glued the stars and swirls to a patterned paper with lighter versions of the salmon and blue over a dark blue card base.


The sentiment is popped up on foam tape and I used holographic star stickers in three sizes as a finishing touch.

Ddd


Posted by studio3d@ccgmail.net at 12:01 AM PDT
Sunday, 1 September 2013
Applying the Lesson Learned
Topic: Stamping

As proof that I had learned my lesson, here are three more cards using the same embossed image from two days ago. That one I had colored using alcohol markers and found that they melted the embossing powder. It also removes the shine from the embossing so the image does not have a finished look.

I had stamped and embossed three other times - once on regular cardstock and twice on watercolor paper - when I created the original card. So I colored them up with watercolor markers this time. In each case I used three values on the petals, two on the leaves, and one on the stems.

This first one uses oranges for the blooms. This is the closest to the one I did with alcohol markers and it is on regular cardstock like that one, too. I used an aqua-brush to blend the colors. I bordered with neon green and black before popping up on foam tape over a patterned paper.


The next one is on watercolor paper and I used three bright pinks on the flowers. This got borders of hot pink and black and is popped up on foam tape over a houndstooth paper. I used a bright red-violet for the card base. Love the graphic look of this.


The last one is also on watercolor paper. I used dark pinks and burgundy for this image and darker greens for the leaves. A green and a black border were applied and popped up on foam tape over a third border of burgundy. I placed this all on a latice background so ithad a more formal feel than the others.

I left these all without sentiments to let the illustration remain the center of attention.

Ddd


Posted by studio3d@ccgmail.net at 12:01 AM PDT
Saturday, 31 August 2013
Here Comes The Sun
Topic: How Does Your Garden Grow?

This is the first time I have grown sunflowers. I thought I'd give them a try so we could leave the dried heads out for the squirrels to munch on.

These things shot up like Jack's beanstalk. The second week in August they started to flower.


I am 5'3" and this plant is HUGE! I would say this was a garden success.

Ddd


Posted by studio3d@ccgmail.net at 12:01 AM PDT
Friday, 30 August 2013
Lesson Learned
Topic: Stamping

I needed a card for a swap that used wet embossing. This background stamp is one that I picked up for the online class 'Stretch Your Stamps' last year and I hadn't used it since. But I remembered how awesome it looked when embossed in black and colored with markers.

What I did NOT remember was that I had done the coloring before using watercolor markers. The lesson I learned doing this was that Copics, Sharpies, and other alcohol markers will melt the embossing powder and smear that color into the image.

I was fortunate that I noticed it as soon as I started the first bloom (lower left one) and after that I avoided letting the markers come into contact with the black powder.


I used three oranges, two greens, and a stem brown. Then I bordered the trimmed image in neon green, black, and pumpkin orange. This was popped up on foam tape over a black diamond background on an orange card base.

Ddd


Posted by studio3d@ccgmail.net at 12:01 AM PDT
Thursday, 29 August 2013
Flitting Around Fall
Topic: Scrap Recovery

When I was cleaning up, sorting out, purging stuff in the studio I ran across three strips of paper trimmed from a fall paper. I had thought to make three cards using these as an element but suddenly had the idea to use them together. NICE! I placed them on a red-brown backing card and went looking for other elements to use.

I had in the scraps this round punch-out and a yet-unused dragonfly punch. After punching the dragonflies it leaves a peek-a-boo rim around the bug. This required a backing so I chose a scrap of shiny gold cardstock and trimmed it to a square. A little red-brown bordering it worked perfectly. I popped this up on foam and saw no need to add a sentiment.


I think this has a little asian feel to it.

Ddd


Posted by studio3d@ccgmail.net at 12:01 AM PDT
Updated: Wednesday, 14 August 2013 3:34 PM PDT
Wednesday, 28 August 2013
More Stars In Your Eyes
Topic: Pretty Paper

I just couldn't relax knowing all those papers were cut up and waiting for final design and assembly. So the final session happened much sooner than I had anticipated - the next day in fact!

So here we are, back with the patriotic star papers in some new configurations.

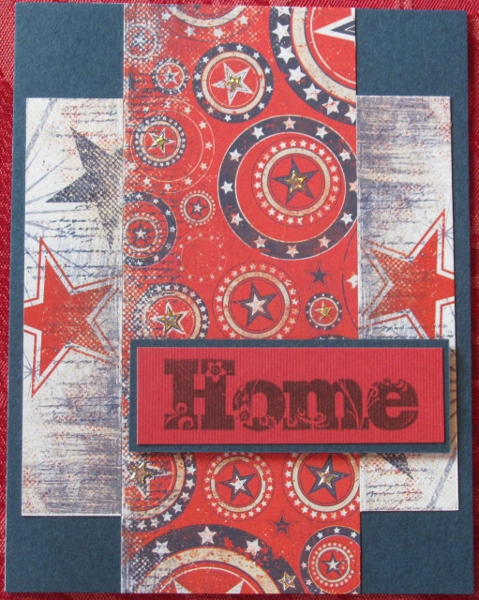
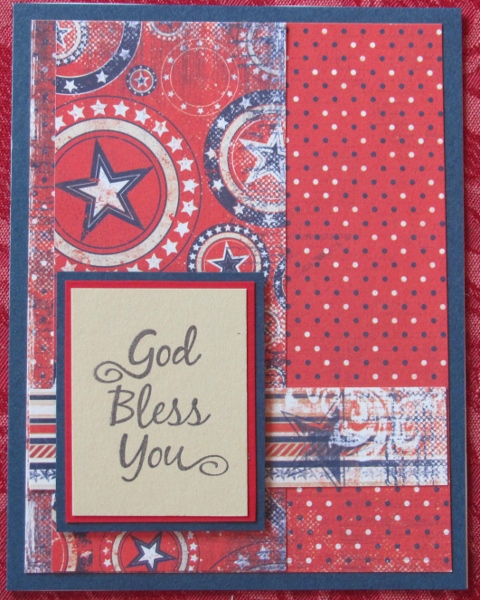
The first set features what I call the bandana paper - red background with multi-sized circles and stars. On the first card I bordered a full strip of this with shorter strips of a white one. I added a few holographic star stickers to the star centers and popped up a large word stamp on foam tape.


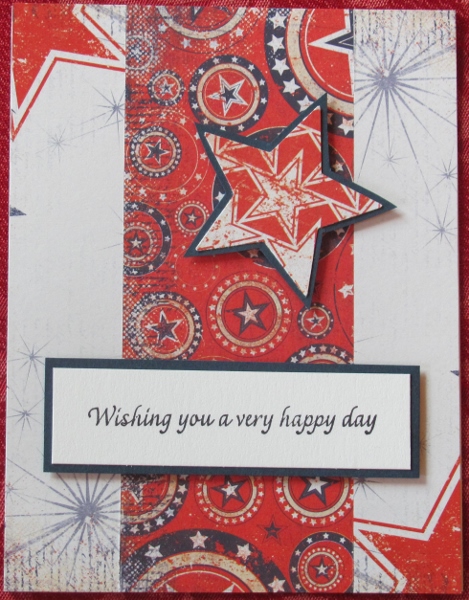
The other one got larger borders of white paper and from a cleaner part of the design as well. I punched one star from the red star paper and bordered it with blue to match the sentiment.


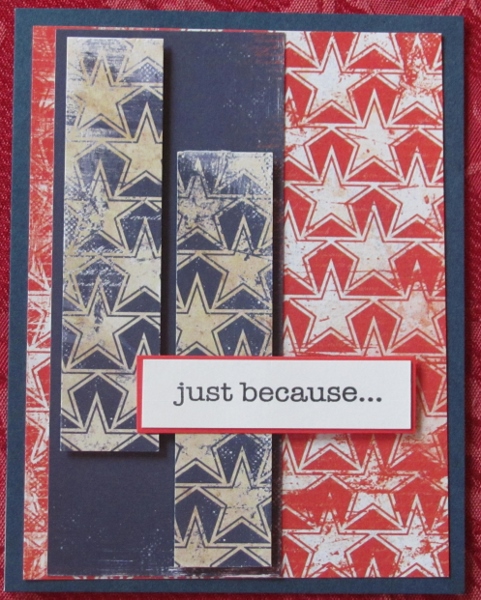
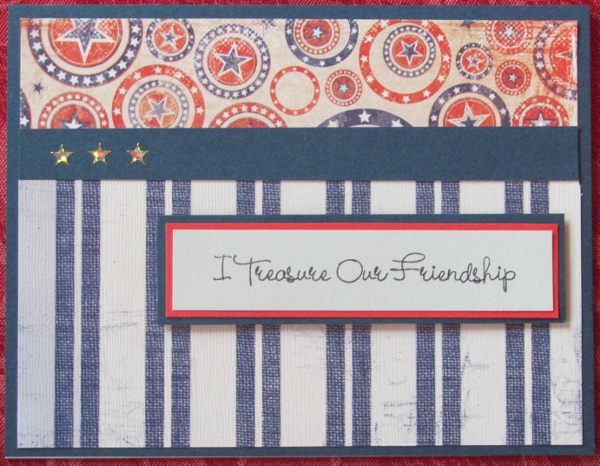
Speaking of red star paper, I have three cards with this background. The first got partially covered with solid blue from the set of papers and then I mounted two strips of the blue star paper on foam tape. The sentiment is bordered in red to stand out from the blue strips.


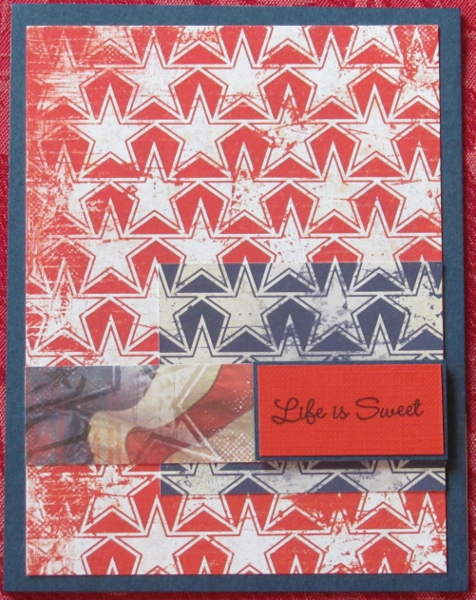
Then I used the blue star paper directly on the red stars and aligned the block so the stars match up. one narrow strip of a flag print leads into the sentiment.


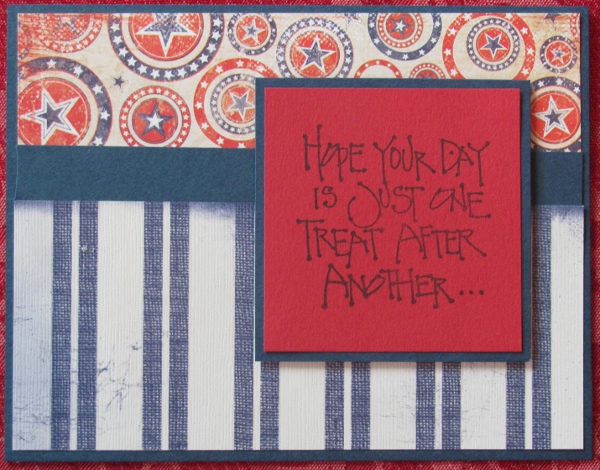
Similar to the last one, this one adds a vertical patterned strip. I changed to a kraft color for the sentiment.


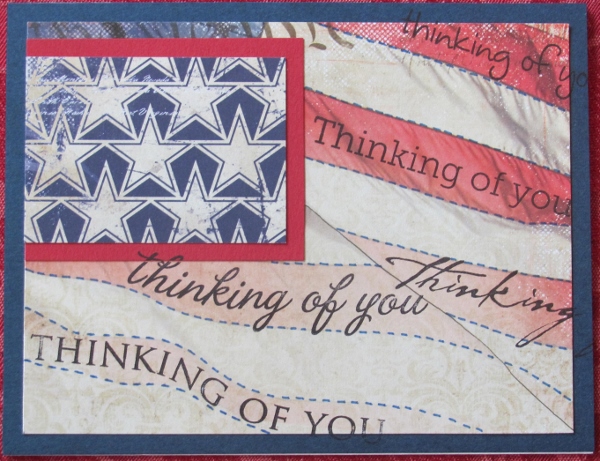
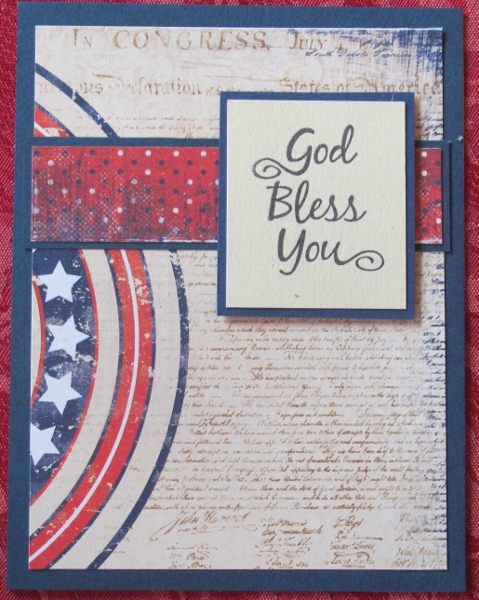
I struggled with the design for this flag paper. I finally decided to place some of the blue star paper over the printed stars. On the first one I stamped different versions of the same sentiment in all the red stripes. I also used a blue pen to define the red/white breaks with faux stitching.


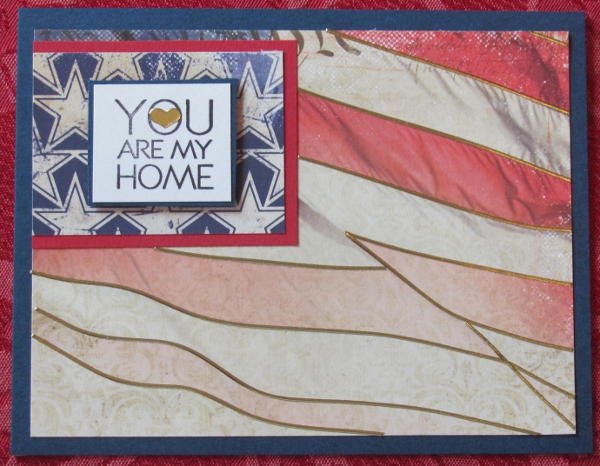
The two remaining ones are identical so I'm only posting one photo. I popped a bordered sentiment up on foam tape inside the blue field and then outlined all the stripes with gold peel-off sticker.


The next set features a paper that doesn't even belong with this set. But then they both use the same accent paper and wide central bordering strip. On the first, I added some small holographic stars in the blue border and double-bordered the sentiment.


The other got a large sentiment stamped on red as a bright focal piece.


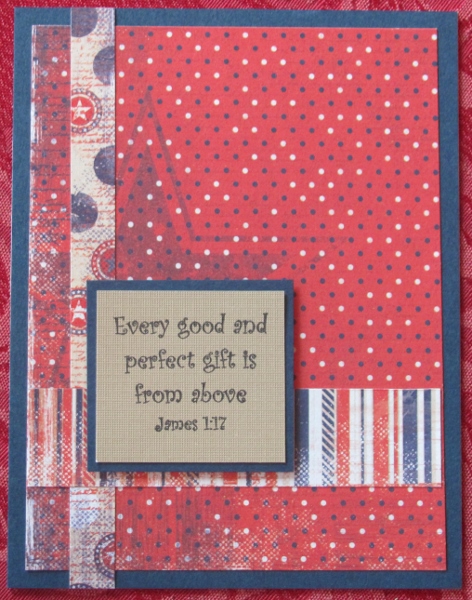
The least patriotic paper in the set is the red with white and blue dots. On the first card I accented it with some of the bandana paper and a bit of distressed stripe. The sentiment got double borders.


On the other, more of the dotted paper shows along with a faint star in the background. I kept the accent strips narrow and added a scripture stamp.


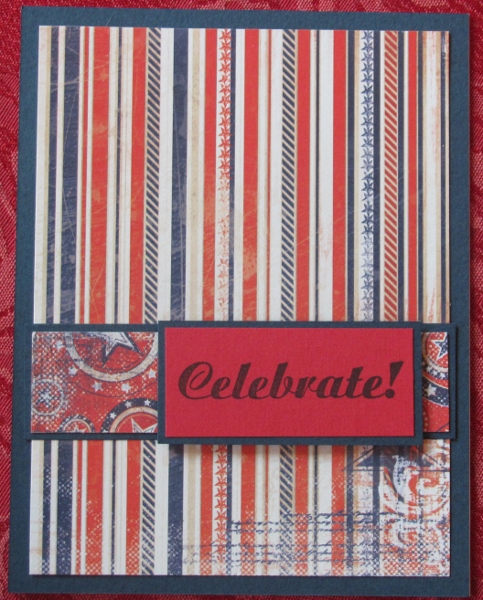
This striped paper looks clean and fresh. It has a printed element in the corner so I tried to leave that visible. On the first card a single strip of bandana paper was added and then mostly hidden by the red sentiment.


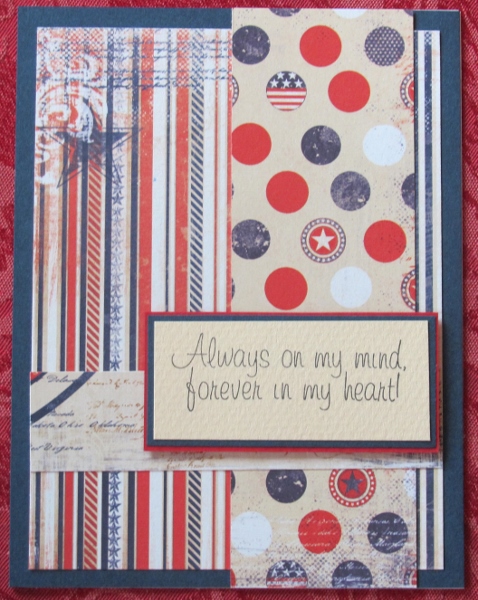
I covered some of the stripe with large dot paper for this one but left that printed element exposed. A strip of printed script mimics the style of the sentiment block.


The stripes on this one were oriented the other way. I added some blue star paper, a strip of script paper and a large sentiment block. I did little bordering so the papers would blend rather than standing out.


This card uses some of the paper I featured yesterday with the script and large circle element. I added a small bit of dot paper to back the large sentiment block.


At this point, I had used up all the 'kits' I had set up but still had bits that I had pulled out and set aside along the way. When I shuffled them around I came up with coordinated scraps to turn out three more cards.

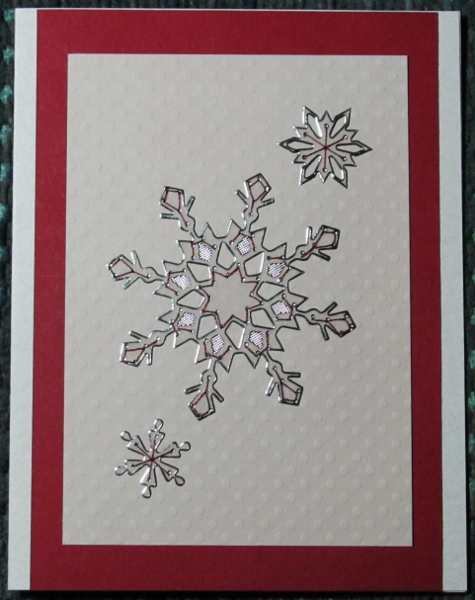
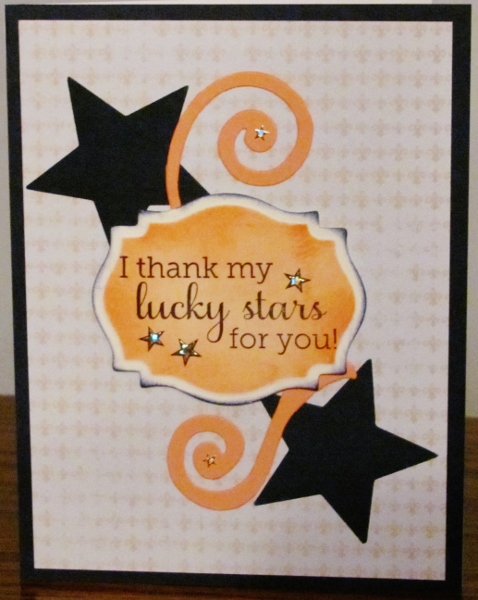
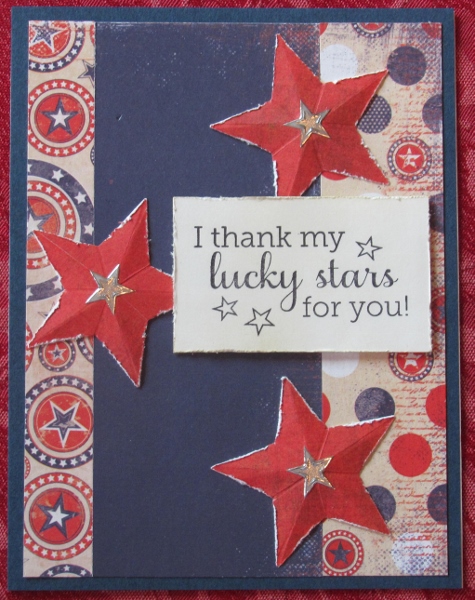
The first had a lot of wide open blue space. So I punched some red stars and did the distress, score and crease to create three-dimensional elements. I added a silver peel-off star sticker to the center of each. The sentiment block got its edges distressed, too.


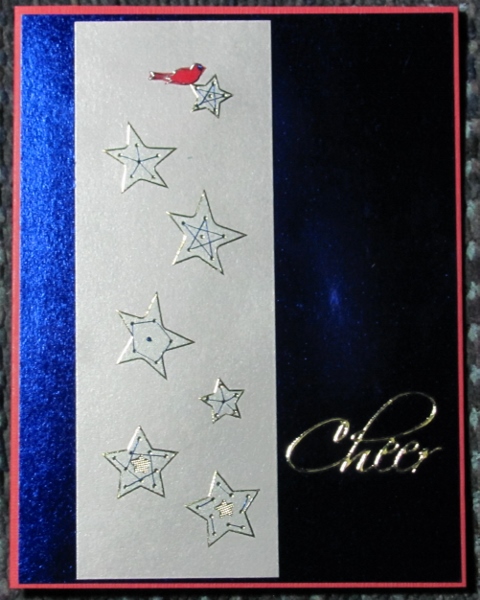
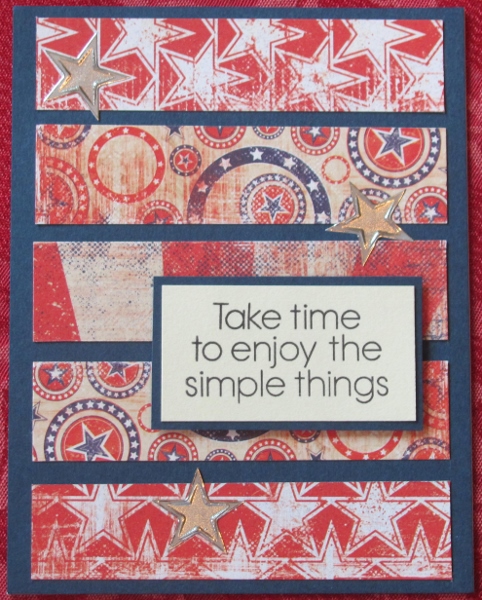
The last two each use 5 strips of printed paper in a kind of window shade arrangement. On the first, I added silver peel-off star stickers to the center of some of the printed stars. The sentiment is light to separate it from the background.


And for the last one, which has lighter papers, I punched three stars from a script paper and bordered them in blue. The sentiment got a red border and it is popped up on foam tape along with the stars.


Now I have to go back to creating one card at a time from scratch as the 'kits' have all been used up. Whew!

Ddd


Posted by studio3d@ccgmail.net at 12:01 AM PDT

Newer | Latest | Older