Topic: Multi-Technique
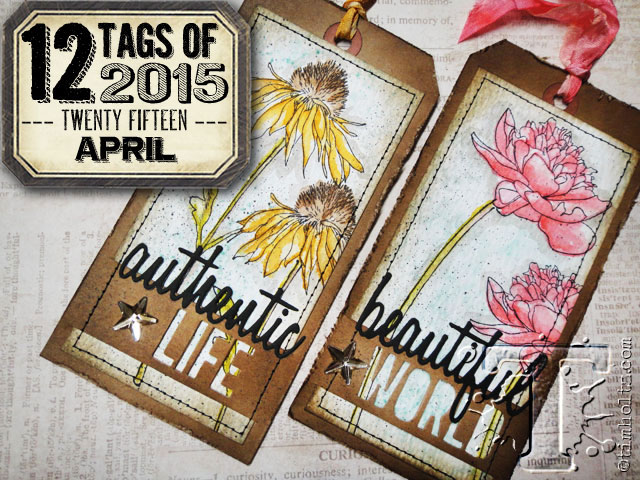
We're still working on April in the projects inspired by Tim's 12 Tags of 2015.
As a reminder - this is Tim's version:
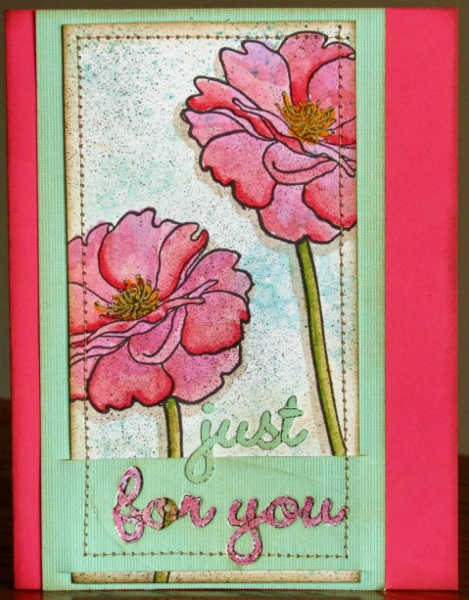
Here is the process for my third card:
-cut watercolor paper
-stamp flower heads and stems with Archival Ink in jet black
-mist paper with water
-use bulb sprayer to apply two colors of Distress Ink to background
-dry with heat tool
-use darker Distress Marker to draw partial outline on some of the petals
-use aquabrush to pull color into the petal
-dry
-scribble that color and another lighter one on acrylic block
-use aquabrush to color the petals with these inks
-use same process for stems
-dry
-use Pumice Stone distress marker scribbled on acrylic block to aquabrush a drop shadow around flowers and stems
-ink outer edges of paper with dark distress ink using a foam tool
-put black soot Distress Marker in bulb sprayer
-lightly speckle the background
-cut a backing piece
-ink edges with dark distress ink
-use die to cut out words
-cut a slit above and below the words
-feed the floral behind the diecut strip
-use sewing machine to stitch around all four edges of floral tag
-diecut another word from matching paper
-use very fine line marker to faintly outline the diecut areas and words to separate from the background
-use some of the floral marker ink to watercolor inside the cutout diecut area
-adhere whole to a card base coordinating with the florals
And here is the resulting third card:
Ddd
