A Little Birdie Told Me
Topic: Collage
With lots of those bird images left I did some matching up with various table scraps and die cuts then added a mix of embellishments to come up with several cards that are quite different from one another.
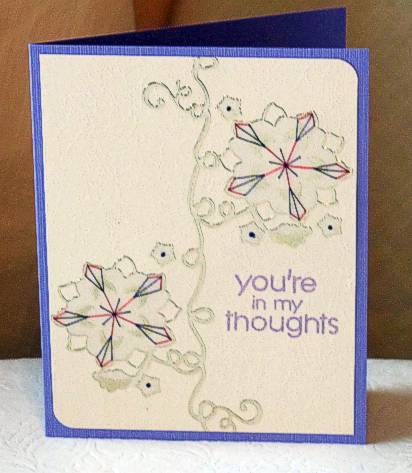
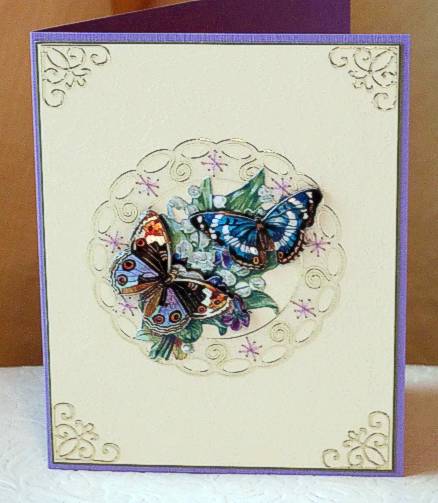
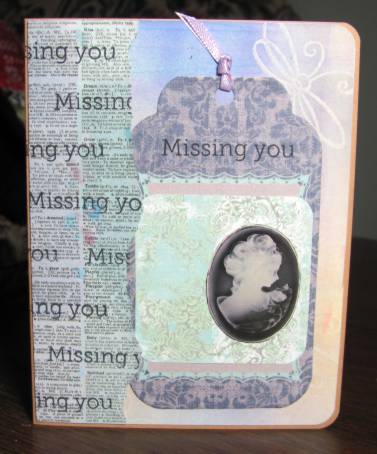
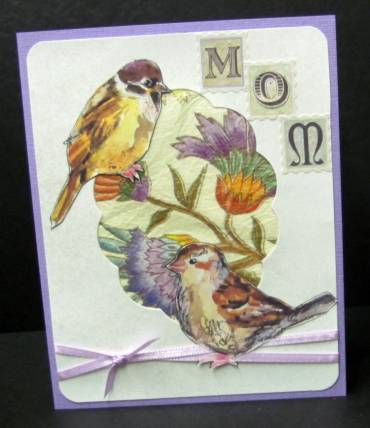
First is a selection with which the starting element was the frame left in white cardstock after having diecut scalloped oval. These had all been sprayed with a shimmer mist. This first card uses a couple of birds with a lot of purple in their coloring. I backed the aperture with a bit of floral printed tissue paper, tied the base with a ribbon, rounded the corners, and mounted the birds. A lavender card base and letter stickers finish this one.
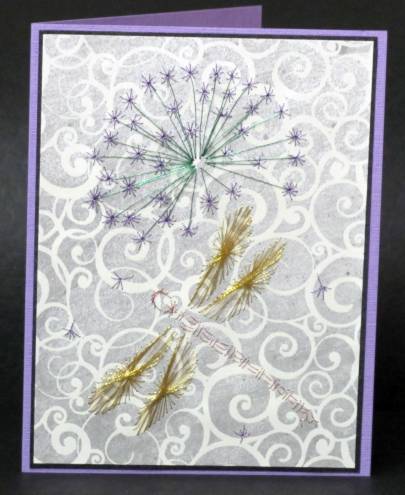
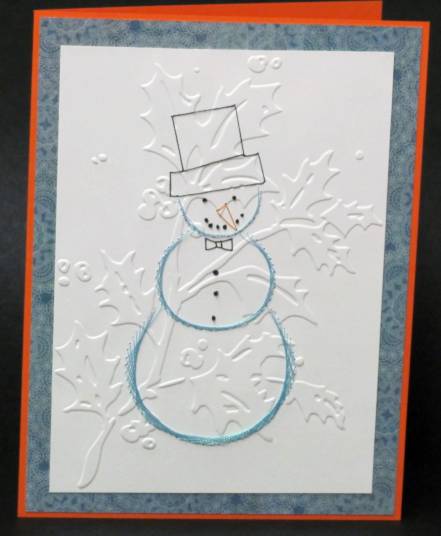
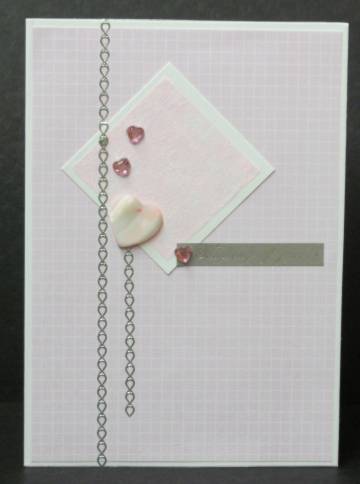
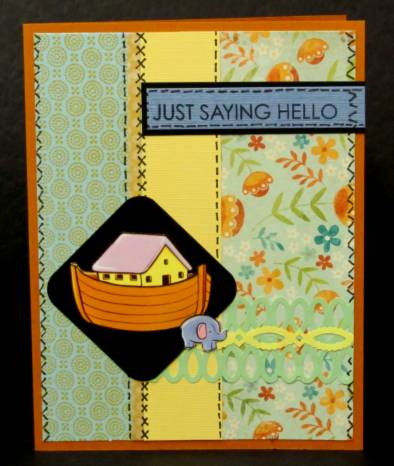
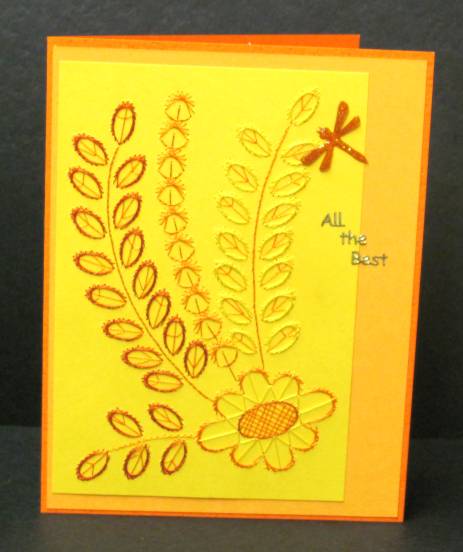
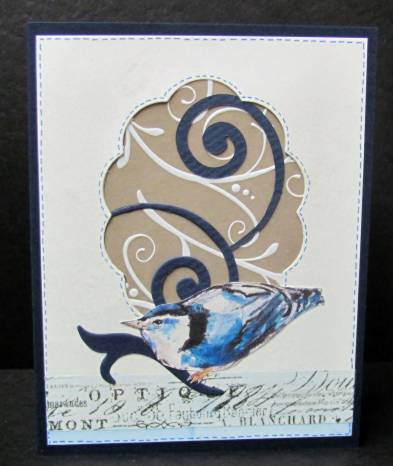
Another simple treatment uses a single bird and lots of swirls. The swirl background paper is placed behind the aperture and diecut swirls mounted over it. I placed tissue tape across the bottom and used Copic marker to lightly tint it and the bit of card below it. Another diecut swirl was added for the bird to stand upon and dark blue marker stitches drawn around the aperture and the panel outline.
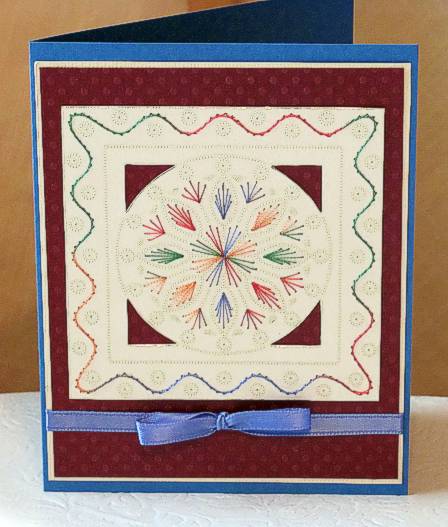
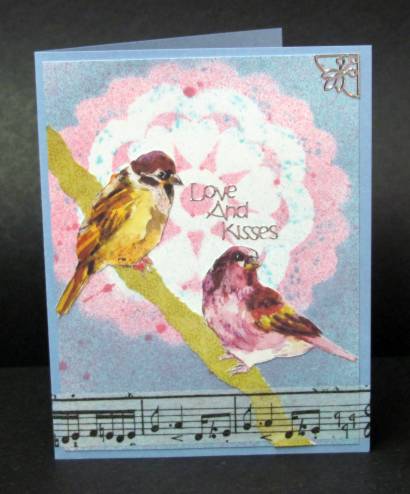
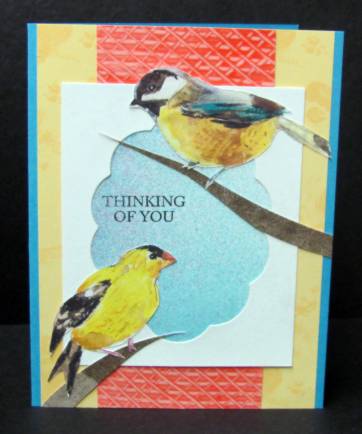
For the next card I cut the aperture cardstock down quite a bit so other papers could be seen around the outside. The yellow layer is the back of a printed index card, the pink layer is leftovers of a paste paper, and the center blue layer is leftovers of a cardstock sprayed with Glimmer Mists. More scraps (background from a cardstock used to clean the brayer) were cut into long triangle strips to serve as branches for the birds.
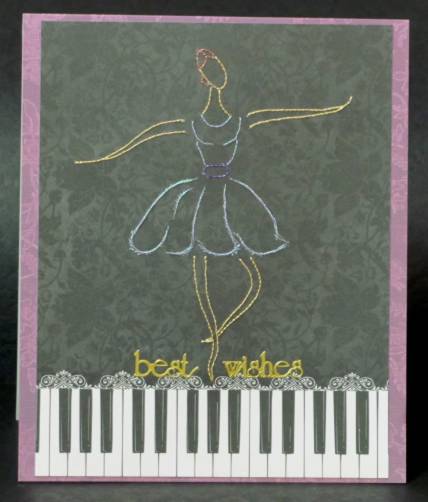
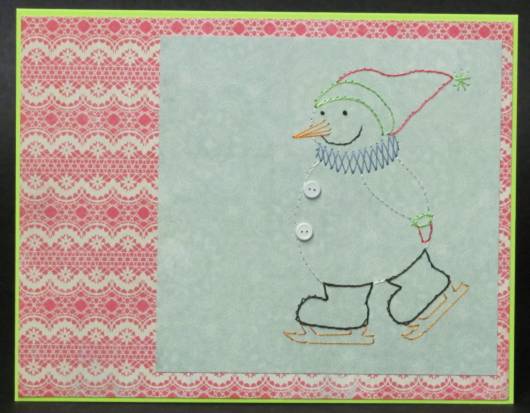
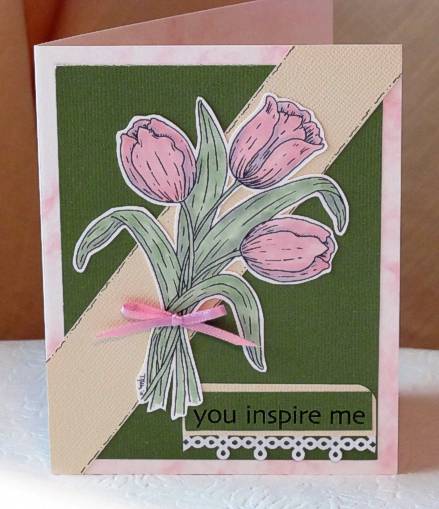
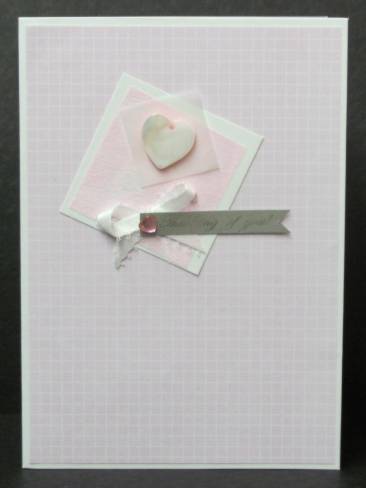
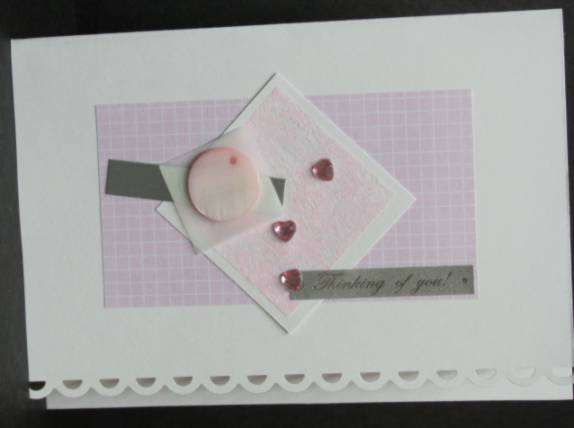
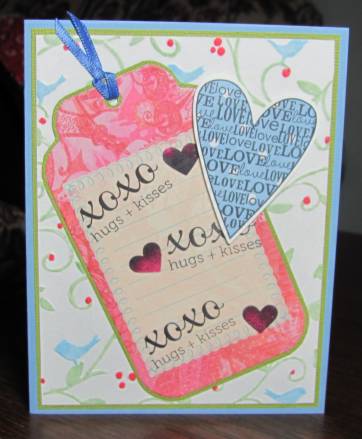
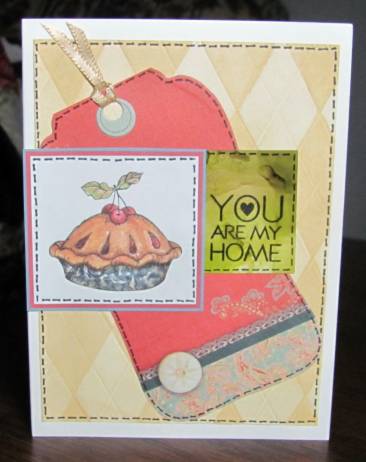
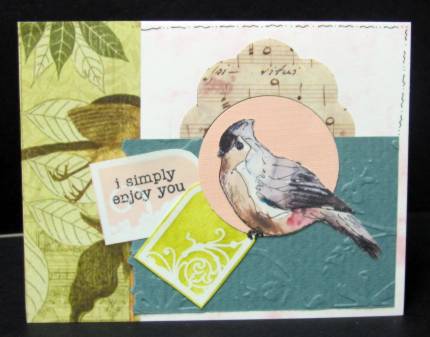
This next one also uses a cut down aperture, this time with rounded corners. I laid some music printed tissue on the folded card base. More paste paper scraps are used at the base of the aperture (the pink and the woodgrain). Then the pink is repeated in strips at the top and bottom of the card. The bottom strip serves as a backdrop to the text sticker. All this pink is to echo the bird colors and provide balance.

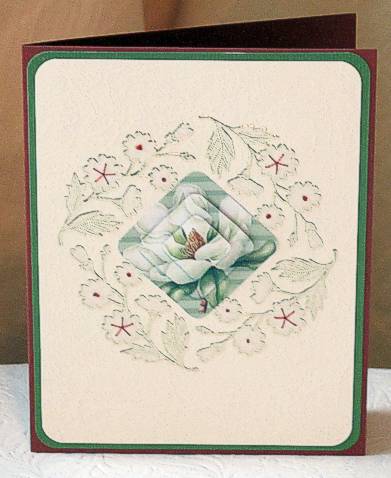
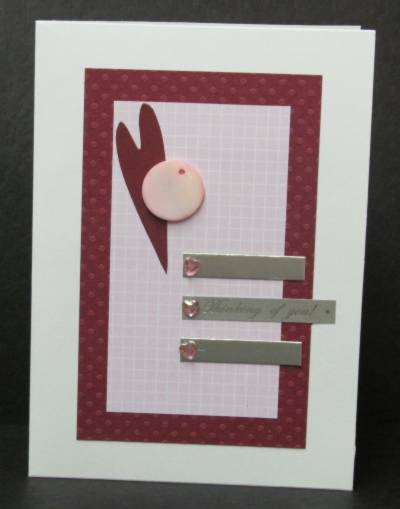
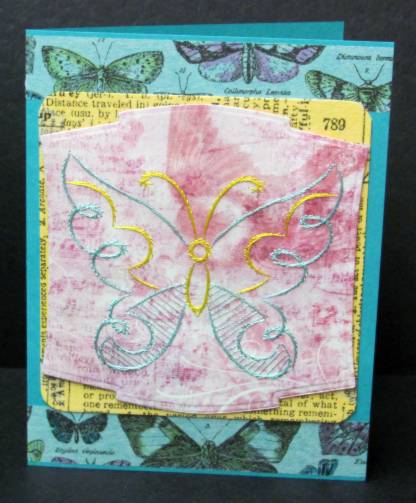
Finally, I used some of the music printed tissue to cover the aperture cardstock and cut the aperture back out of it. Behind this I placed some 'polished stone' cardstock. The bottom is banded with layered tissue tapes and I added two diecut swirl elements and a bit of tied twine. This bird has subtle coloring but the red background and blue base cardstock pick out elements of its palette.

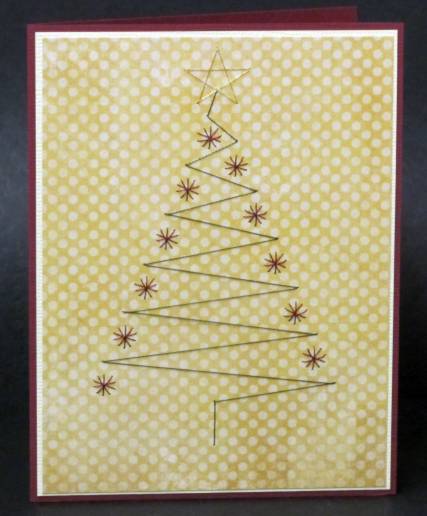
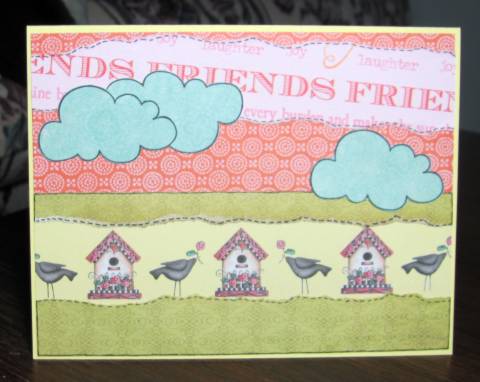
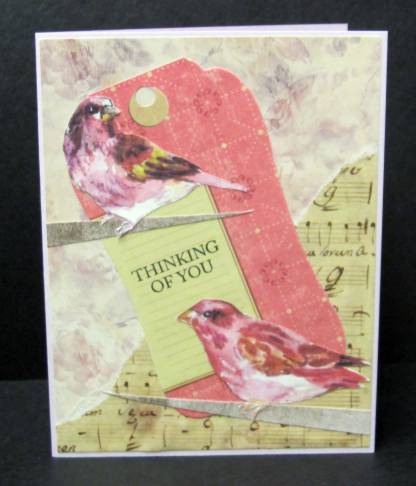
Then I made three cards using a variety of branches for bird perches. The simplest branch is just a single long triangle. I used this for the card using a background of printed glossy cardstock with some torn music over one corner. A printed tag serves as a backdrop tying the birds together and I stamped the text.
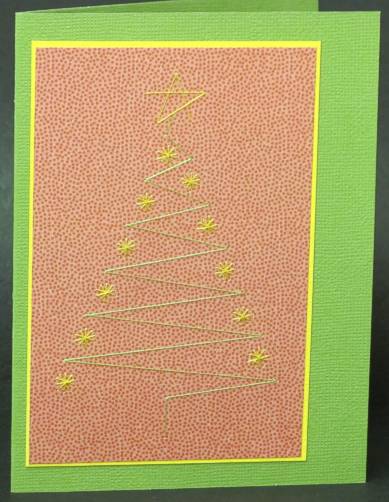
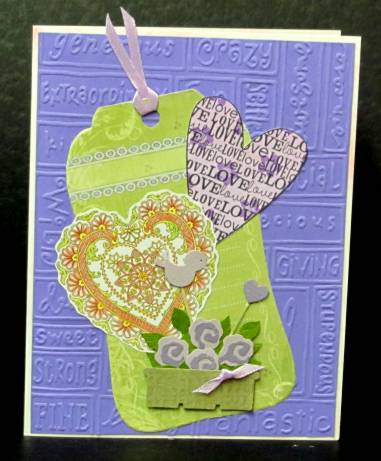
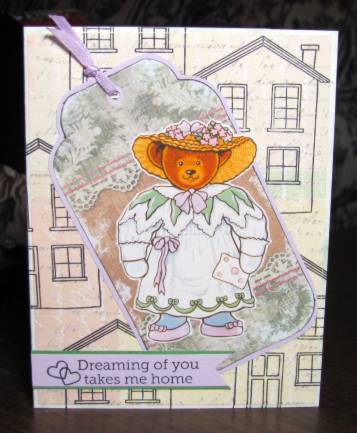
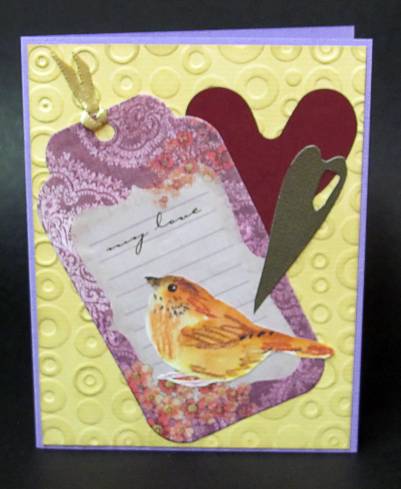
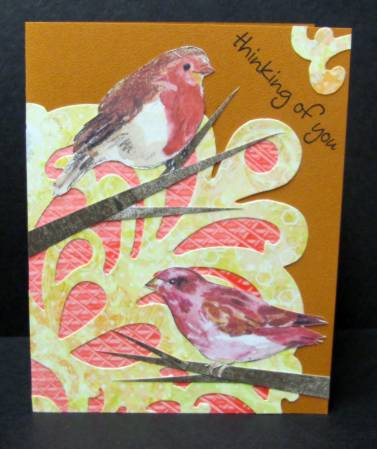
By adding two more long triangles to each branch you get little twigs. I did this on a background created with wome of the paste paper scrap overlaid by a diecut scrapbook paper. I used a scrap of the diecut paper in the upper corner and stamped a greeting.
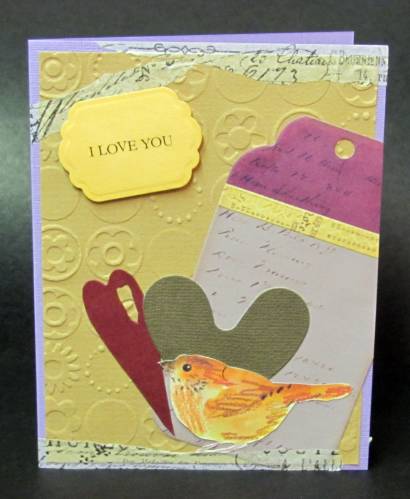
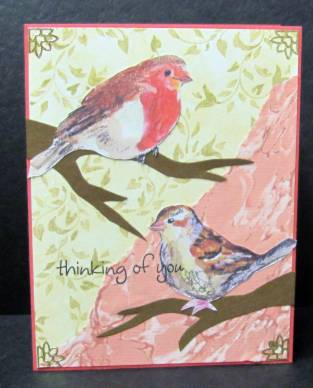
The last set of branches were free-hand cut and laid over a background of leafy scrapbook paper and a marbled paper. This is so simple that I added some gold peel-off corners and stamped partly onto one of the birds.
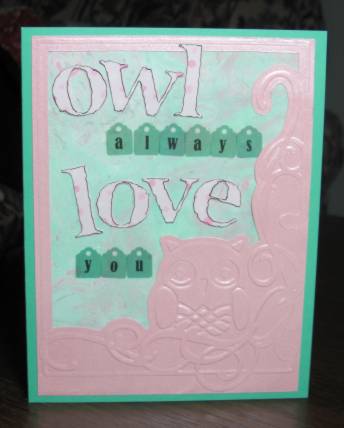
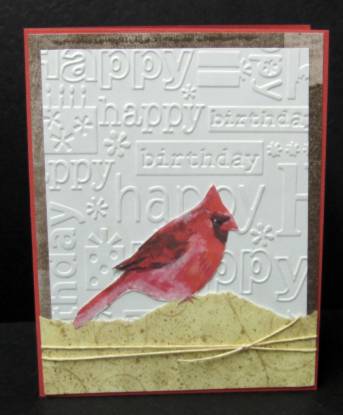
For the next card I went super-simple by using a plain white background embossed with birthday greetings. I tore a piece of green scrapbook paper for a grassy knoll and tied these onto a brown cardstock with a bit of twine. The coral base card echoes the color of the bird.
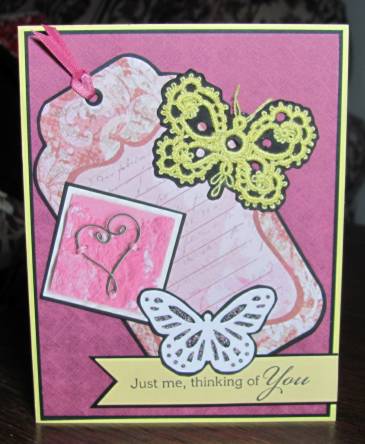
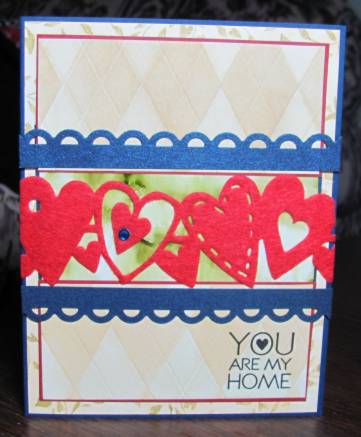
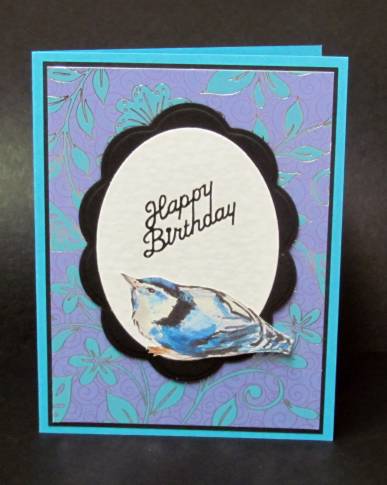
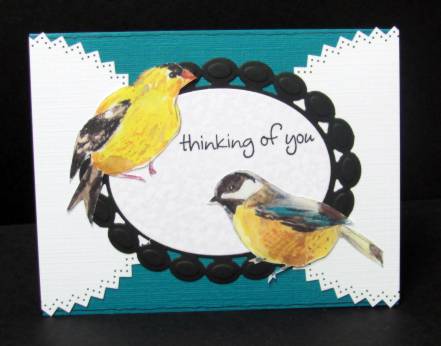
I had several diecuts on the table and layered them creatively on a blue card base to pick up the colors in the birds. The text is stamped. Simple and elegant.
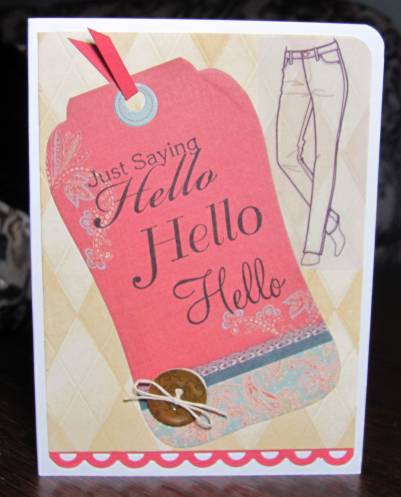
And, last, is a mix of stuff I had pulled out when I started the series and hadn't used yet. All are table scraps and I just layered for the best effect.
Yep - all these cards in one sitting. And I'm all done with the birds!
Ddd
Posted by studio3d@ccgmail.net
at 12:01 AM PDT