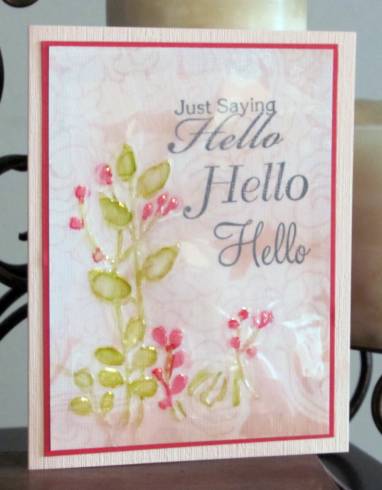
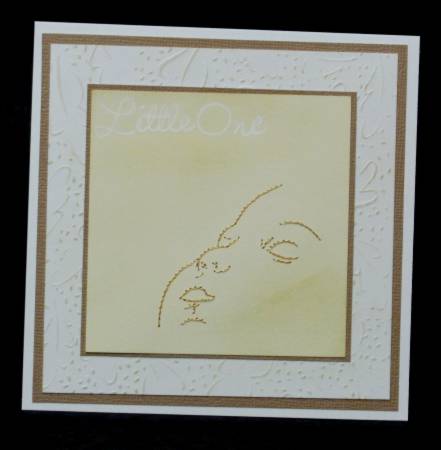
Topic: Dry Embossing
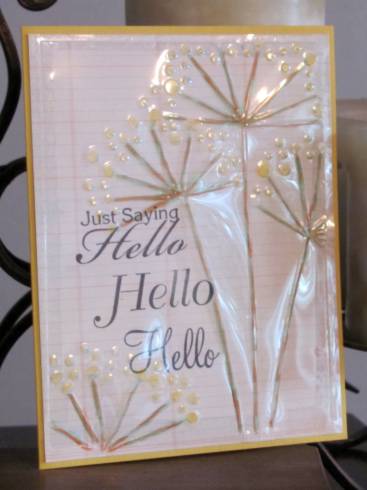
I love the graphic effect of dry embossing folders and sometimes just want them to be the center of attention. Especially this folder from a Cuttlebug set which included the folder as well as a diecut set of several phrases. The 'front' of the folder is marked but if used that way it makes the image indented. I really like it with the image raised so I always use the folder backwards. That's just how I roll.
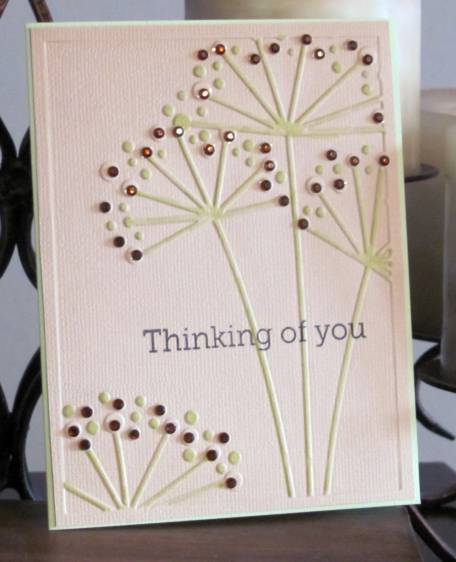
For this first one I used a tan linen-texture paper. After embossing I used Copic markers to color the raised parts a light green. Then I attached sticky-back garnet colored rhinestones to some of the dots at the end of the 'branches'. I stamped the greeting directly onto the face and cut the panel to mounto on a light green card base.
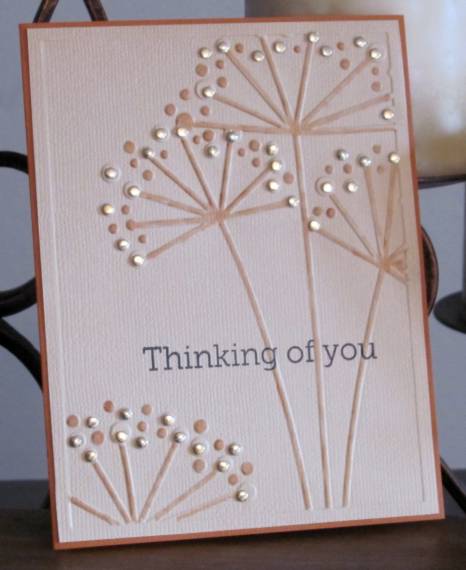
I embossed again on the tan cardstock but this time I used light brown Copic for the coloring. The decorative dots here are gold 'nail head' stickers. I stamped the sentiment the same as before and used a medium brown card base.
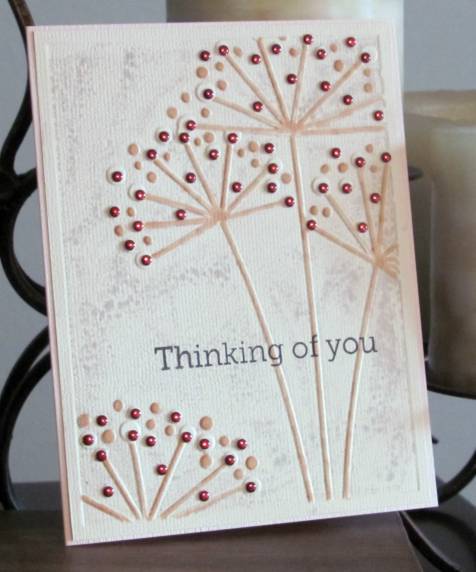
Then I wanted to create the color in the background and leave the image light so I applied milled lavender distress ink direct to the inside of the folder before making the embossing on cream cardstock. This was too pastel for what I had in mind. So I used the brown Copic on the stems and dots again. I used ruby colored nail head stickers this time, stamped the greeting and adhered to a pinkish card base.
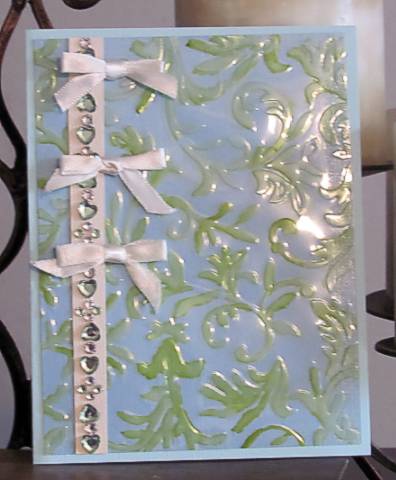
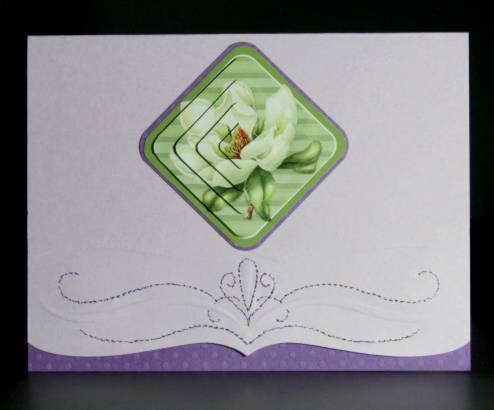
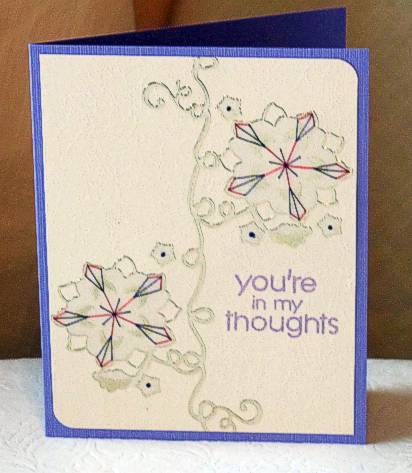
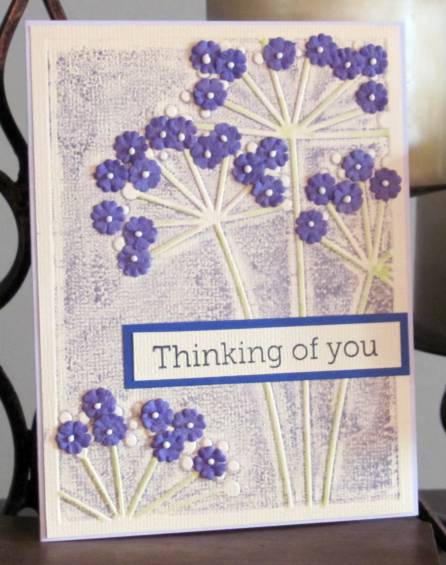
Still trying to get that background color I went with a darker purple distress ink on the folder before embossing. Much better. I used the light green Copic for the stems and left the dots uncolored. Digging into the stash of supplies I found these bitty purple flowers someone sent in a swap (thank you, whoever you were). I cut off their stems and glued in clusters to the stems to make real flowers out of the image. Oh, yes! I cut some of the cream cardstock to stamp the greeting and layered it over purple to match the flowers. The whole piece is attached to a light purple card base.
Now THAT is one yummy card!
Ddd