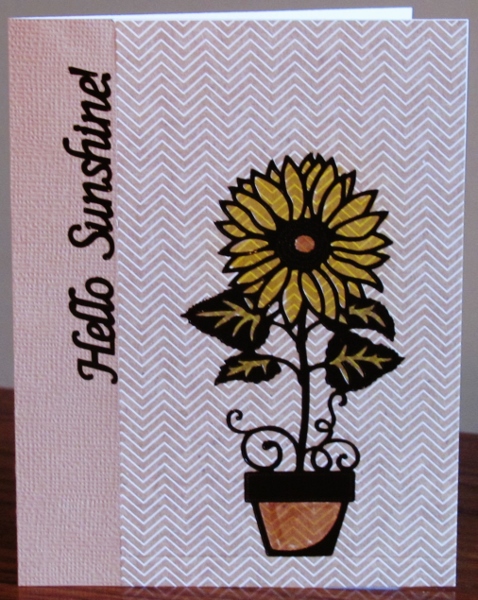
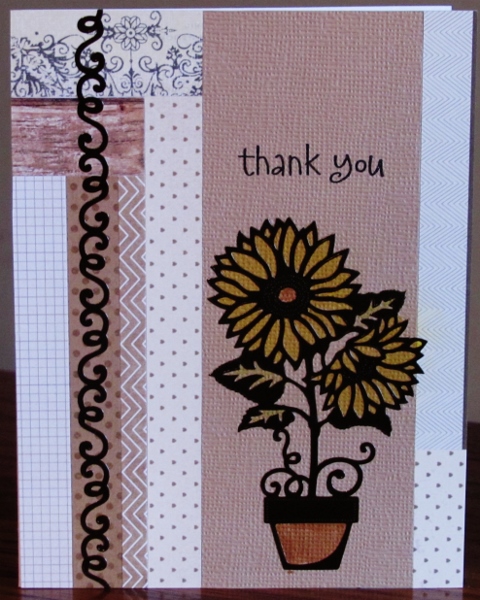
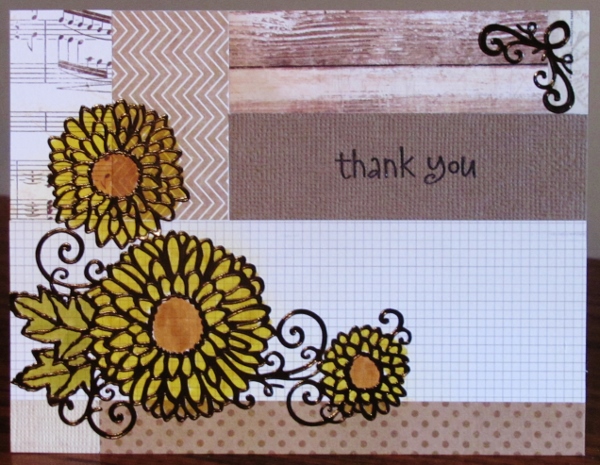
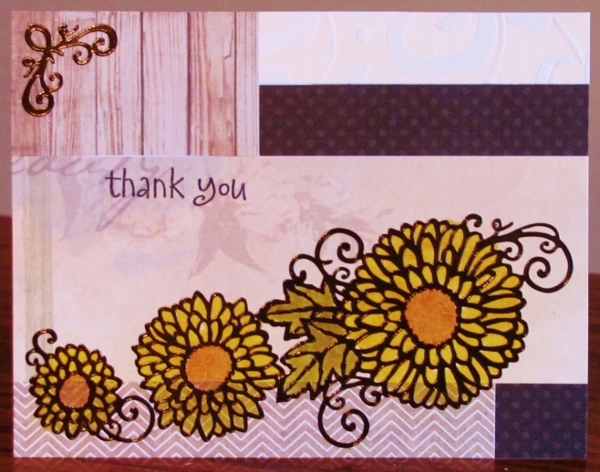
Topic: Scrap Recovery
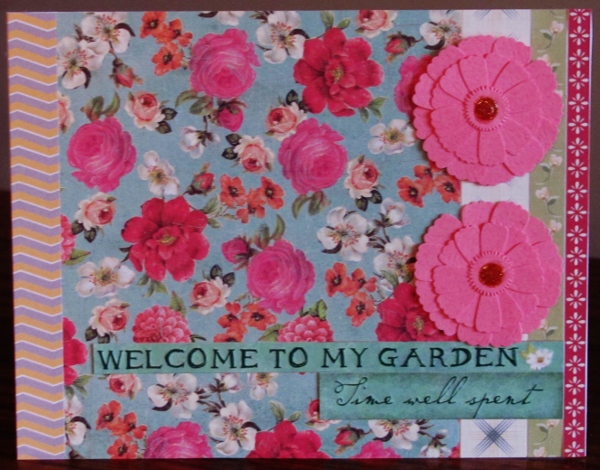
I am trying not to let the scraps get too out of hand again. Yesterday I had used most, but not all, of a blue pinstripe paper from a 6x6 pad. I scrambled through the table scraps I had left from the recent marathon session of collage backgrounds and came up with some other bits of paper that would combine well with this large chunk.
By chance, I noticed a tag in the bin that looked great with this background. I had to border it with a bit of burgundy to keep it from fading right in. I even used a bit of the pinstripe to create a faux ribbon for the tag.
I had some stickers that suited this color scheme, too. So I used one on the background and one on the tag, aligned along their edges. With the tag and top flower mounted up on foam tape the flower becomes 3D.
The three hearts on the right are from the same sticker sheet as the flower.
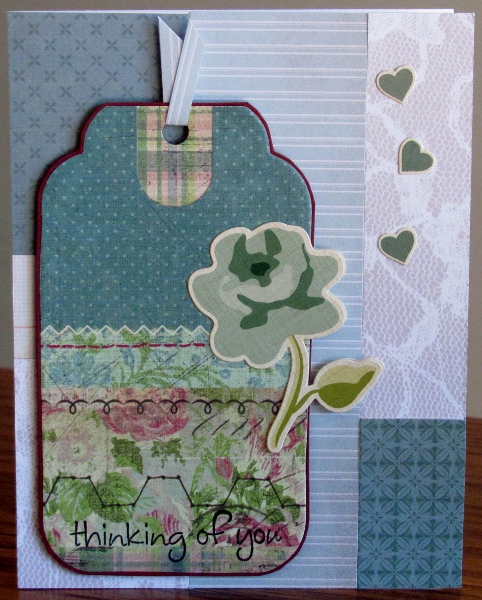
The bottom of the tag made the perfect place to stamp a sentiment. It is subtle because of the pattern there but with the little black stitching printed on the tag the sentiment fits right in.
Ddd