Topic: Stamping
Technique featured on another blog last week... make stripes of color with distress ink pads on a craft sheet. Press large stamp into it, move up a bit and ink again, and down to ink again, smooshing in the ink each time. This blends the colors. Mist with water and stamp onto cardstock. Result is a rainbow background (thus the Roy G Biv title - Red Orange Yellow Green Blue Indigo Violet) I only used the top half of the rainbow though.
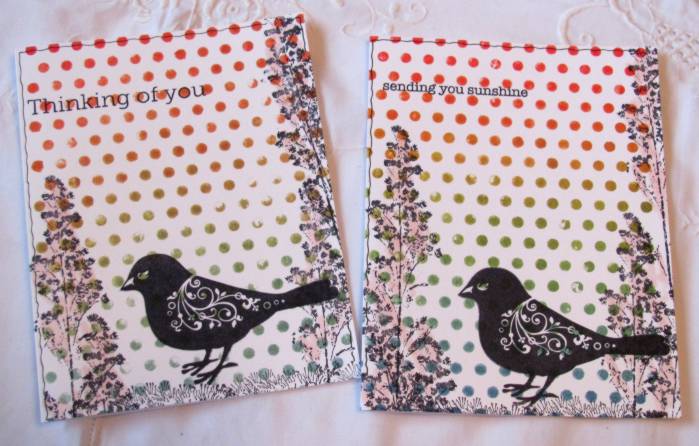
First I used the technique on a brocade type stamp. I trimmed it down and stamped over the top with some flora, grass and a bird. Layering with black over a white base card and finished up with a stamped sentiment.

Then I switched to a dotted background stamp and stamped quite a few. Some are stamped directly onto a folded card base like these two. I stayed with the flora, grass and bird. I colored lightly in the flora and drew a doodle line around the top and sides.
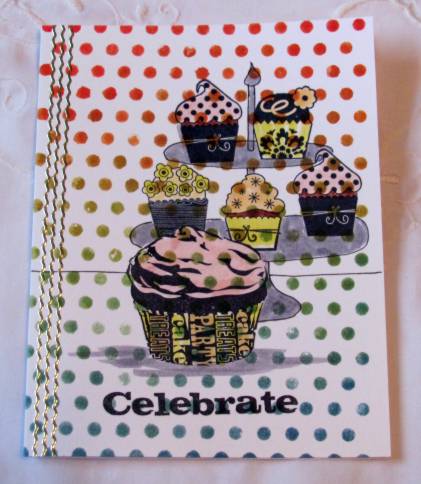
Another one stamped directly on the card base got an arrangement of cupcakes. I added a hand-drawn cake plate and three strips of gold peel-off borders along the left.
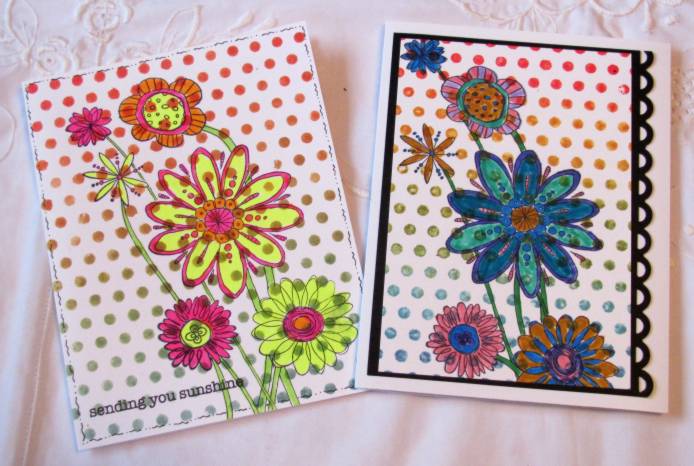
I used an arrangement of sketchy flowers on the last of the direct-to-card backgrounds and again on a single piece that I cut down so it could get a black frame with one side punched with a scallop. These were colored with different selections of watercolor markers. Which to you like best?
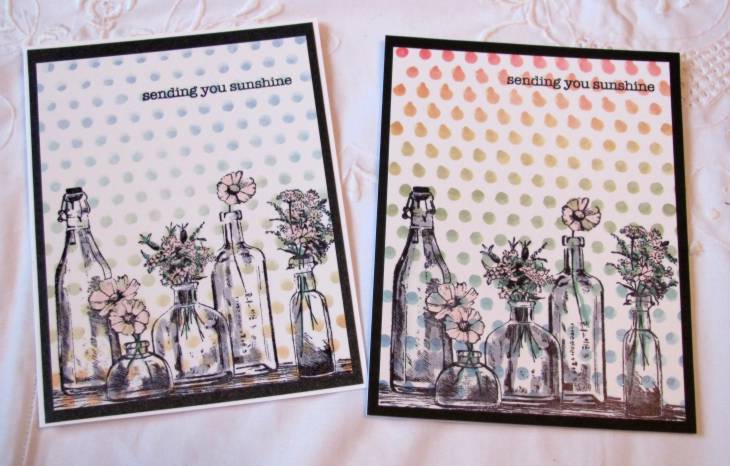
I finished up stamping without reinking - just misting with water - and it created much softer dots. I turned one upside down to change the orientation of the colors. I stamped both of these with the bottle image and used very pastel watercolor markers on them. These were both backed with black panels.
I don't have a lot of background stamps and I'm pretty much done with these dots so I can't see using this technique again soon. It was a nice day of play though.
Ddd
