Topic: Tutorial
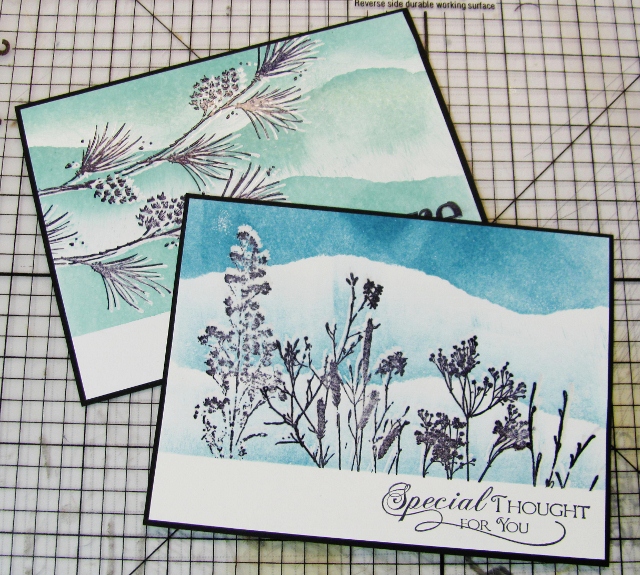
This is a tutorial on creating these snowy scene cards
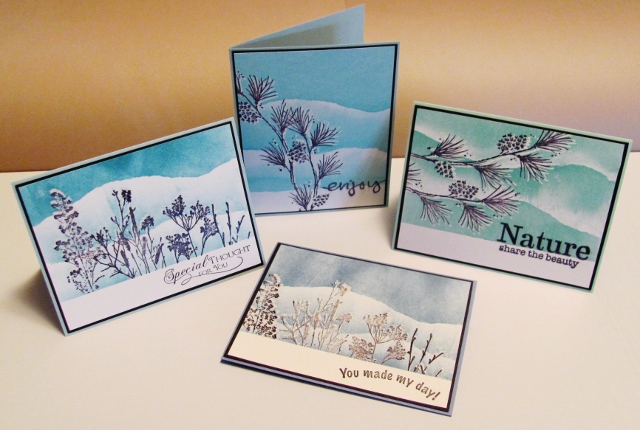
THE SUPPLIES:
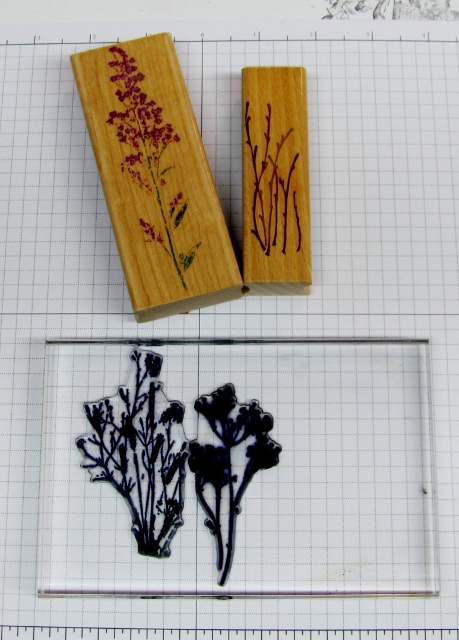
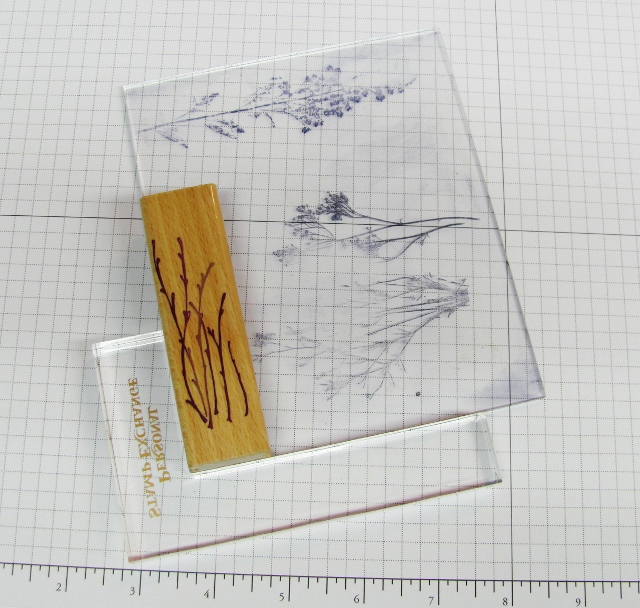
You will select some stamps with folliage. I chose a mix of wood-mounted and acrylic stamps mounted on a clear block.
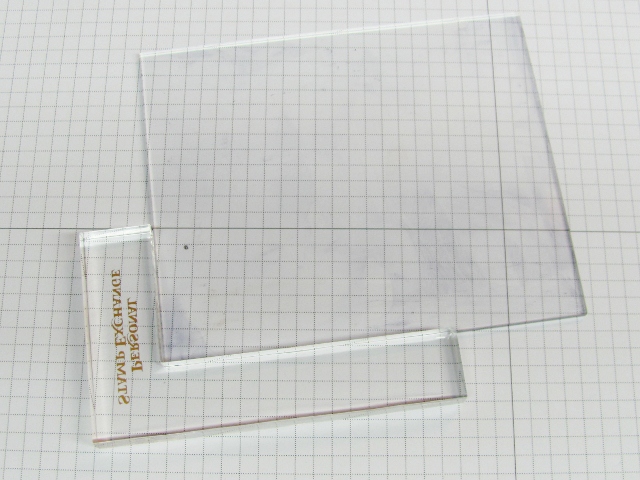
You will need a stamp positioner to align (actually, to MISalign) your images.
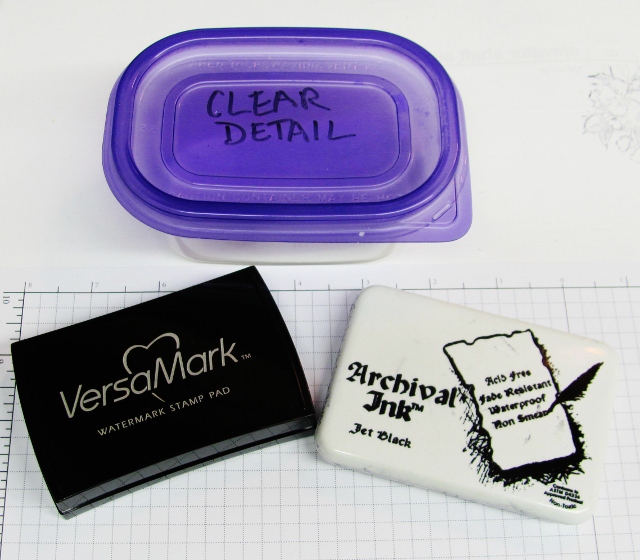
You will need some clear embossing powder, Versamark ink, and a waterproof black ink pad.
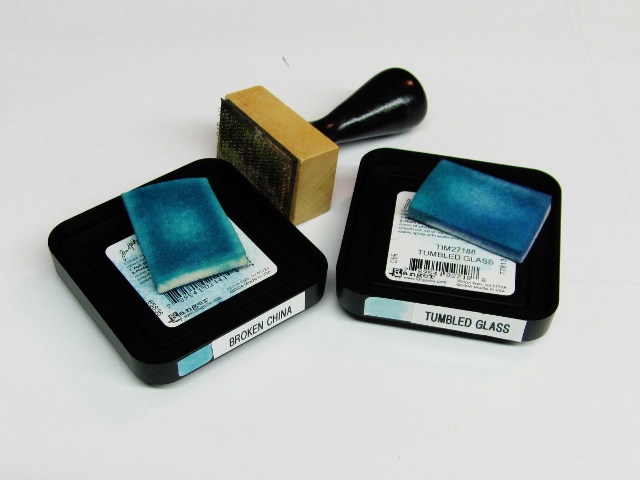
You will need some blue blendable ink (I used Distress Inks) and a foam blending tool. You could also use foam daubers.
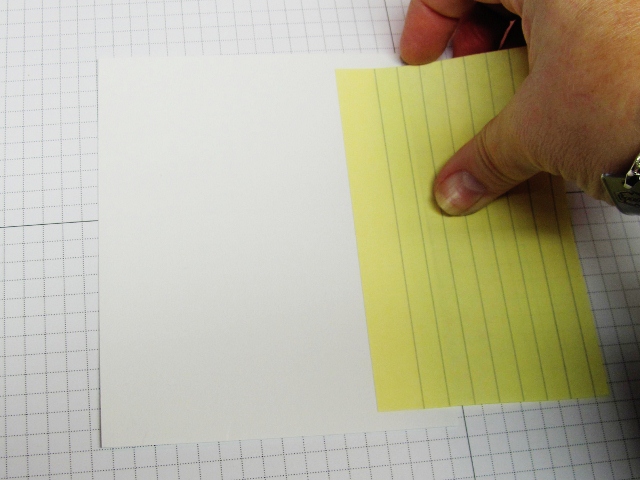
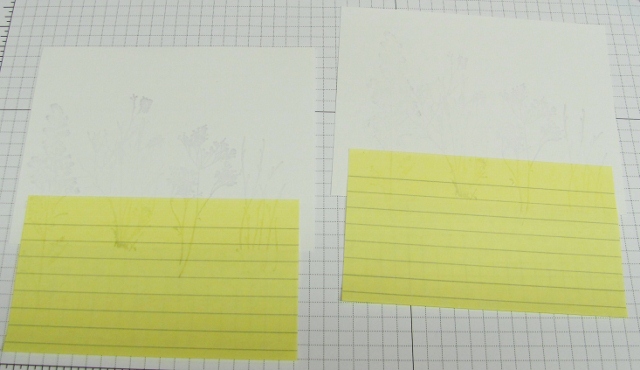
Get a large sticky-note pad and cut yourself some pieces of white cardstock. Smooth is good - glossy is not good.

THE PROCESS:
Use black ink to stamp each of your images onto the plate of your stamp positioner. Each one that will be stamped separately needs to be aligned in a separate corner of the plate. CLEAN YOUR STAMPS THOROUGHLY AFTERWARD - NO COLOR RESIDUE.
Use a sticky note to mask off a band at the bottom of the card - I do a one-inch section.
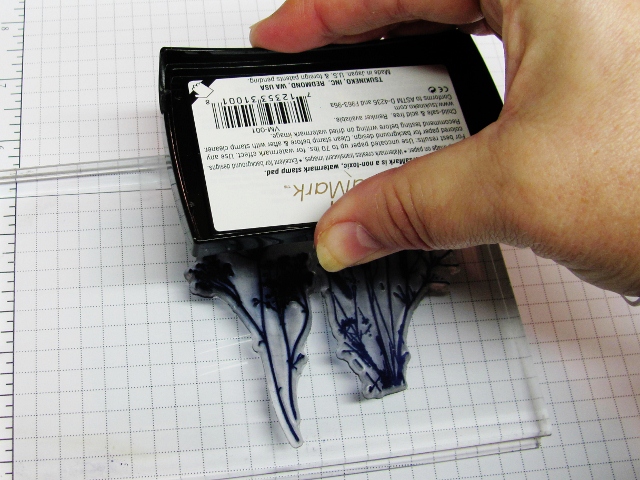
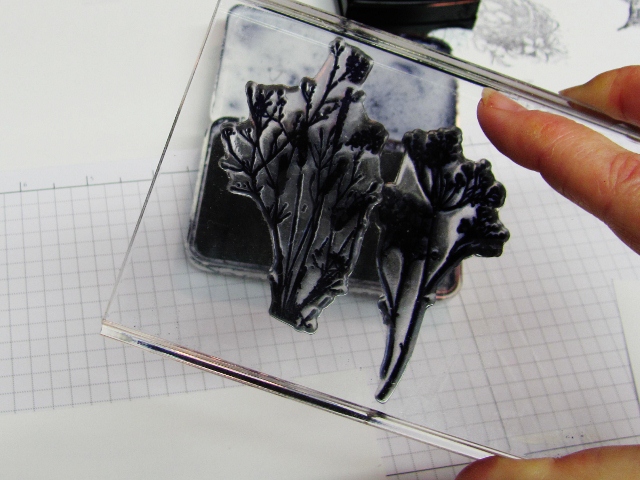
Ink up a stamp with Versamark ink.
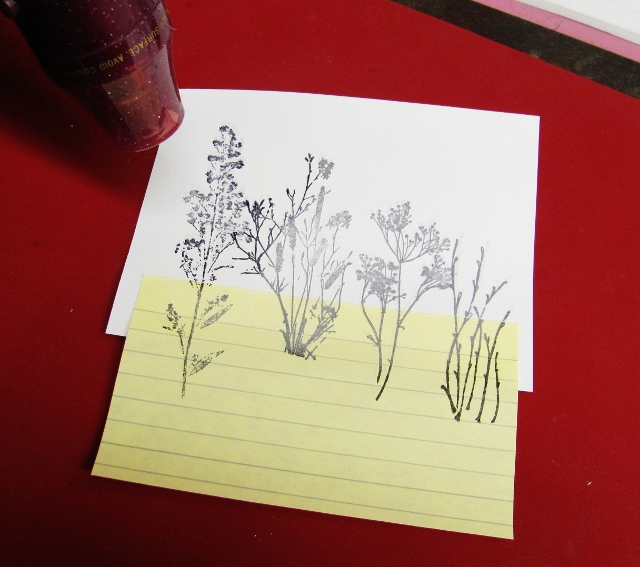
Stamp onto white cardstock.
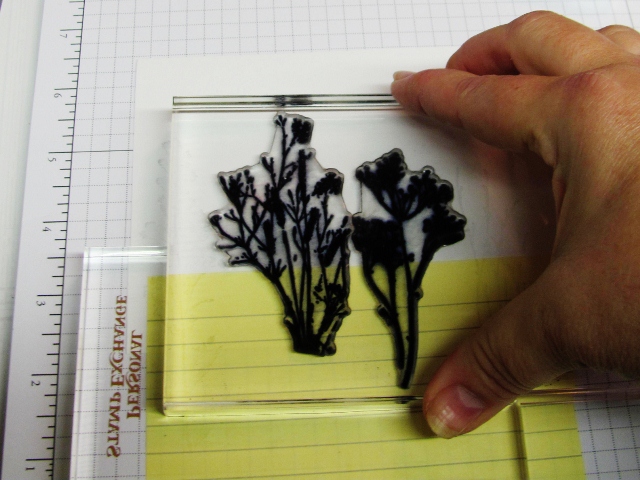
Place plate of stamp positioner over the stamped image so it is slightly mis-aligned down and to one side.
Add your corner piece to the stamp positioner and carefully remove the plate. Ink the image with black ink.
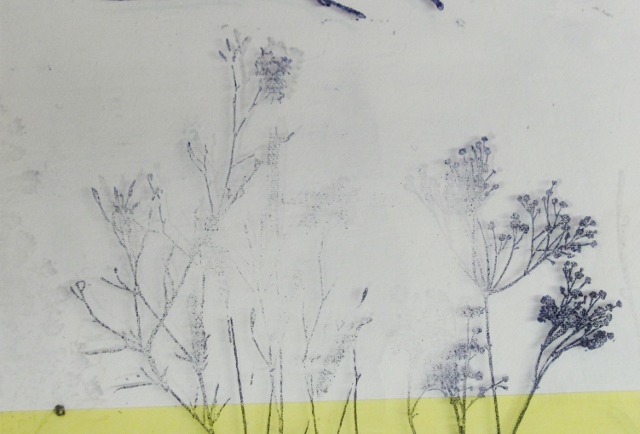
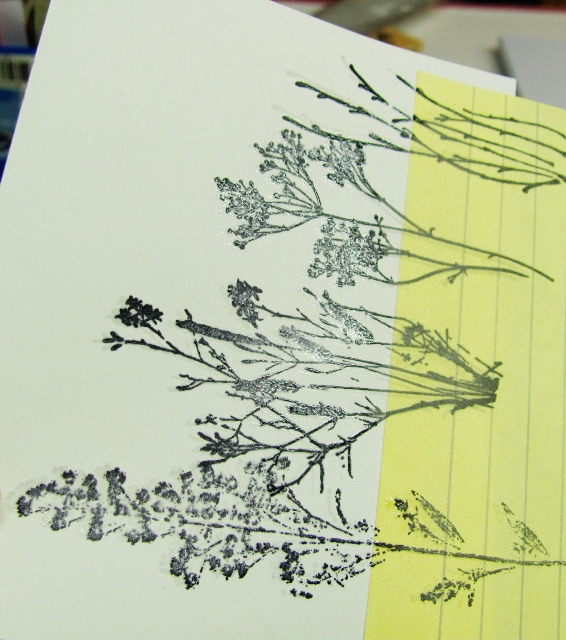
Stamp over the Versamark image with the black image, aligning with the stamp positioner.
Repeat to complete the scene. WARNING: If you are using the same stamp more than once on the same scene, stamp all the Versamark versions before inking any with black.

Sprinkle with clear embossing powder.
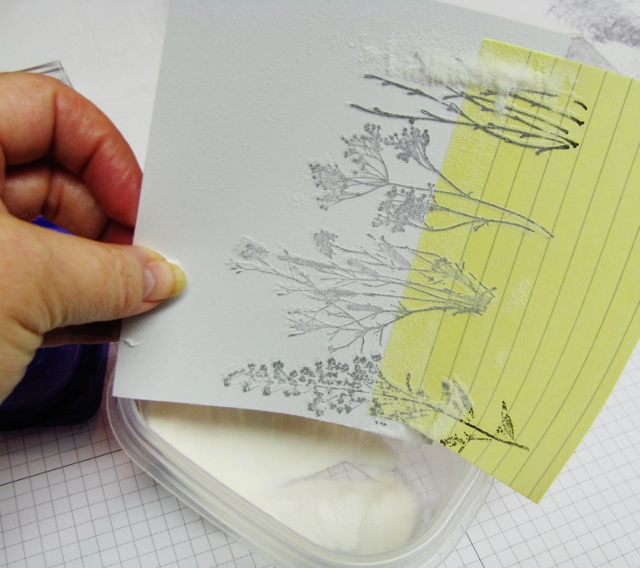
Heat to melt the embossing powder.
You can barely see here that both the Versamark and black get embossed by this method and that they are slightly off register.
AND NOW, THE MAGIC:
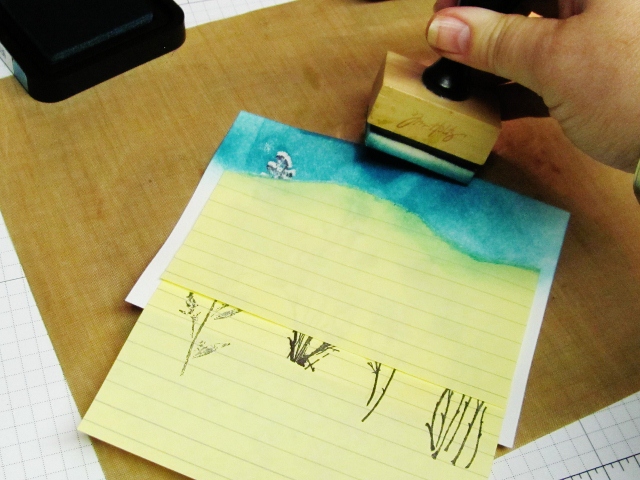
Tear a sticky note to create a hill (make sure you leave some sticky on it) and put it on the card toward the top.

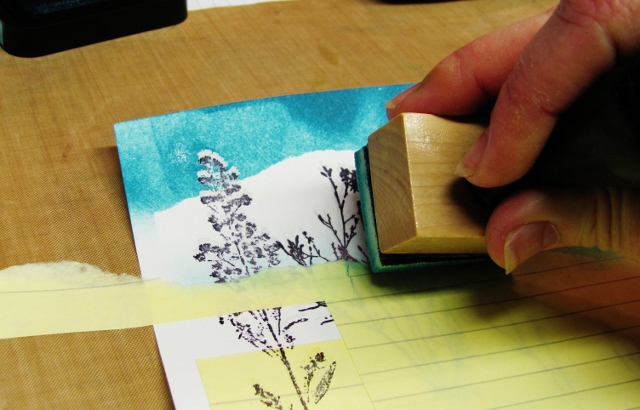
Working on a non-stick craft sheet, use the foam applicator to apply blue ink to the 'sky' where you have masked off. Work from the craft sheet towards the cardstock and this can be a fairly solid coloring.
Remove sky mask. Tear another mask to create a snow bank, Apply to card about 1/2 way down toward the straight-line mask. This time do the inking more lightly and work from the mask upwards. Add ink a little at a time so you don't get too dark.
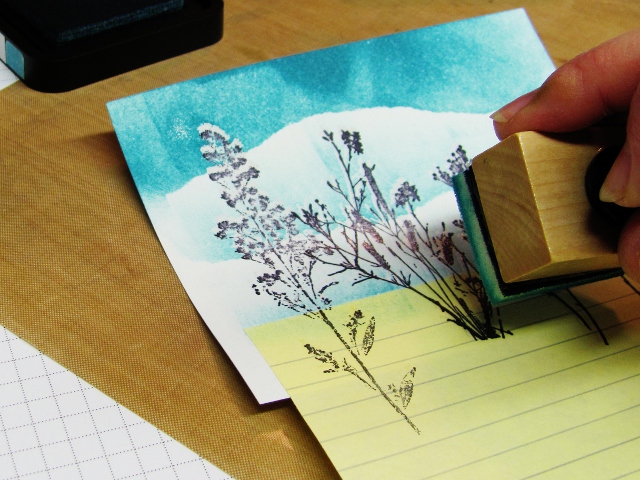
Remove this mask and repeat the samy style of inking working upward from the straight-line mask.
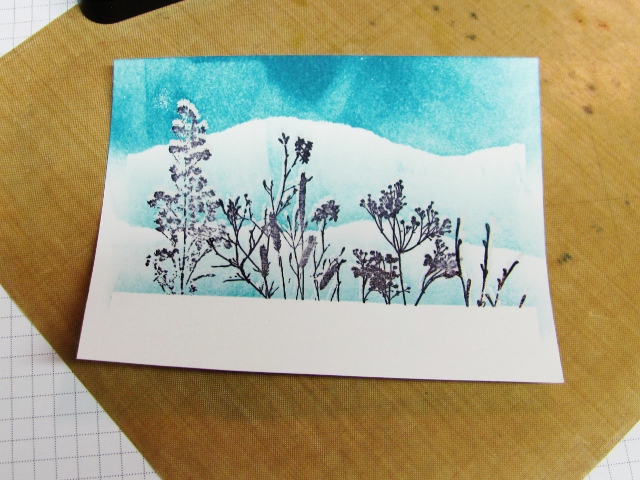
Remove the bottom border mask
FINISHING:
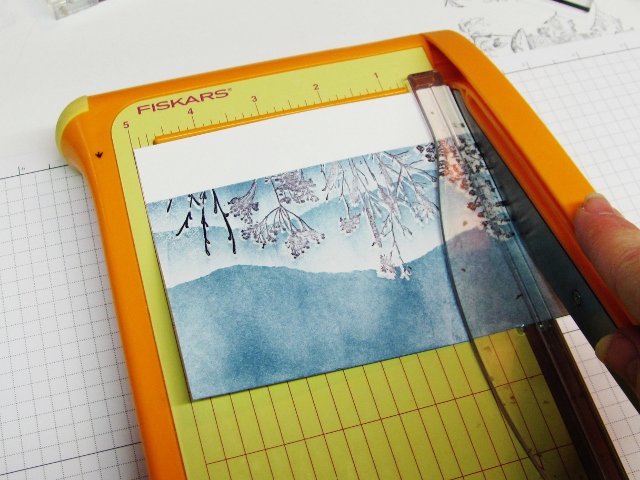
Trim the panel
Stamp sentiments in black ink into the white border.

Back with a thin black border.
Apply to white or colored folded card base and you're done!
My original intention to make a slideshow tutorial did not work out. But, this way, you can spend as long as you like on each picture!
Ddd
