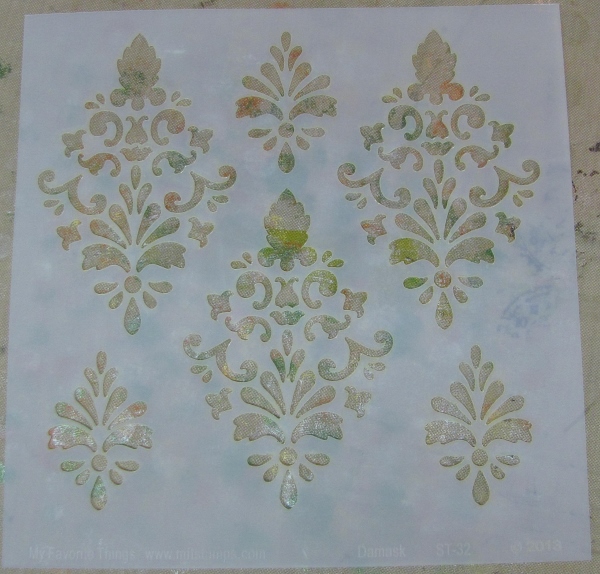
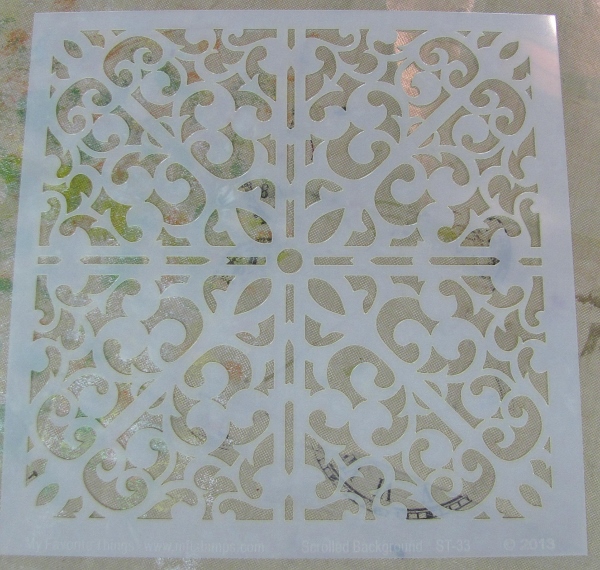
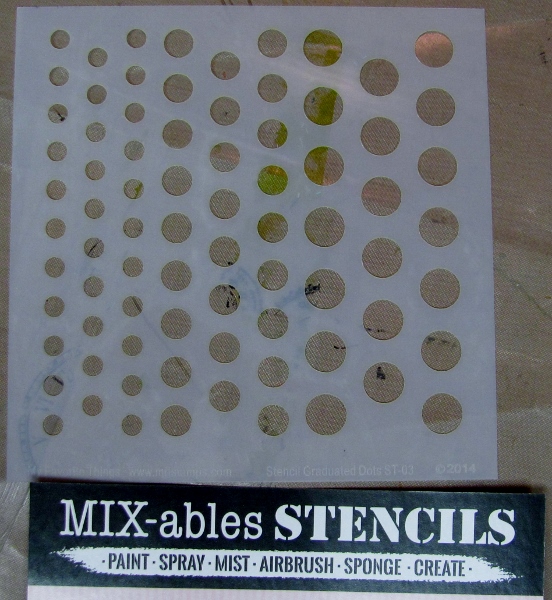
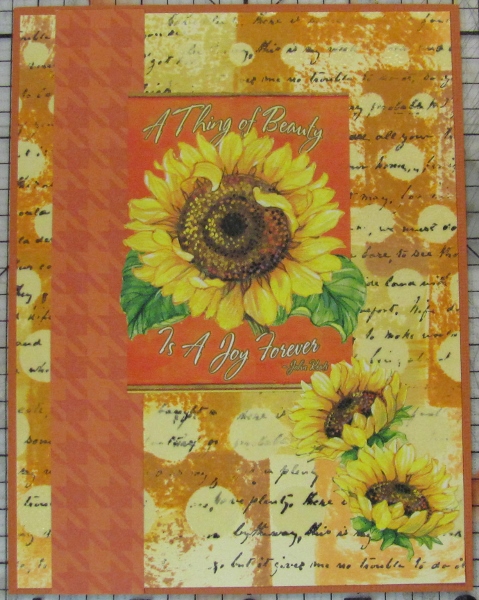
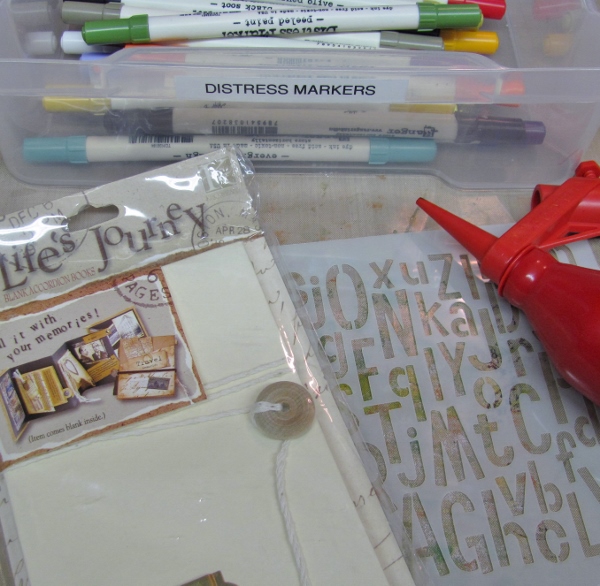
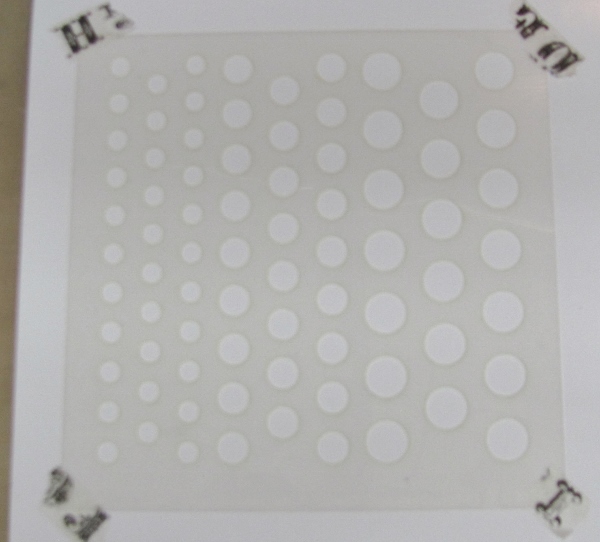
Topic: Stencils
I have two techniques again today, both involving text as a design element and both using the Wildflowers stencil from my recent order from My Favorite Things.
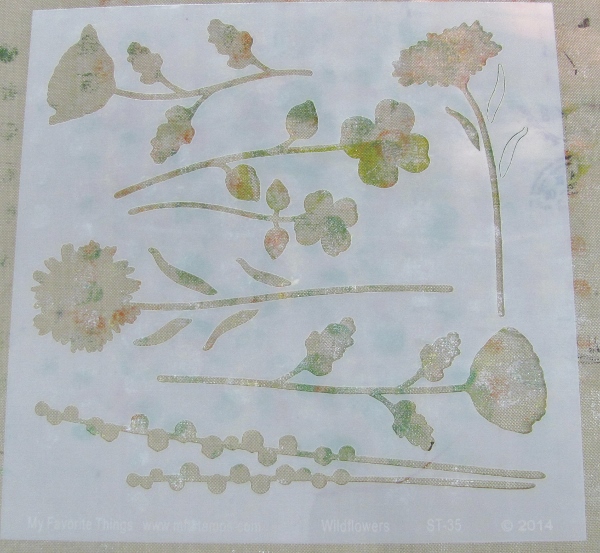
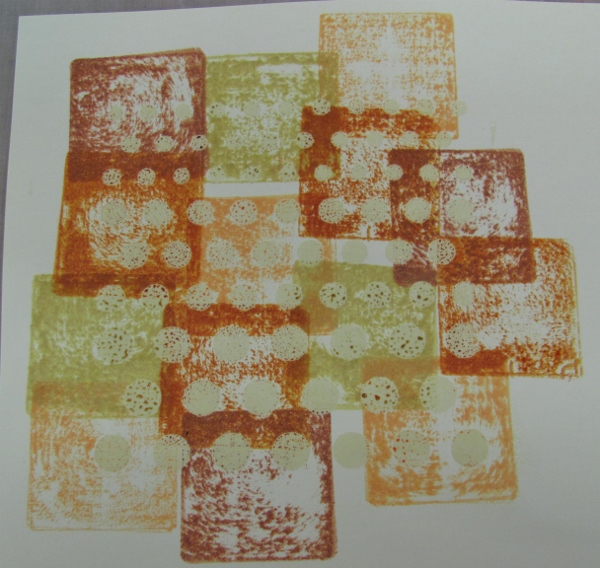
I wanted to try stamping through the stencil to see if it was thin enough to allow the stamped image to imprint right to the edges. I needed to use a very open bloom for this so I chose the face-on daisy.
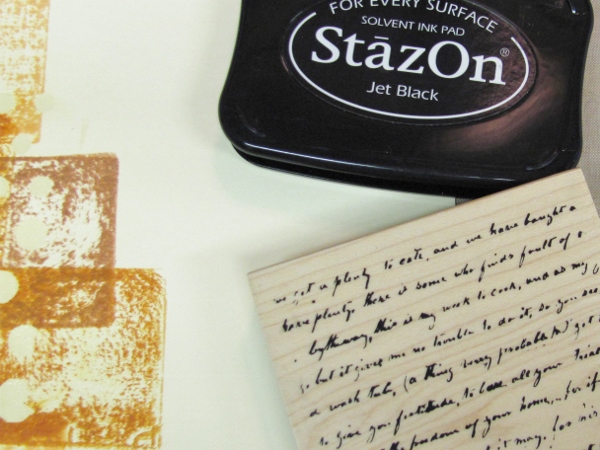
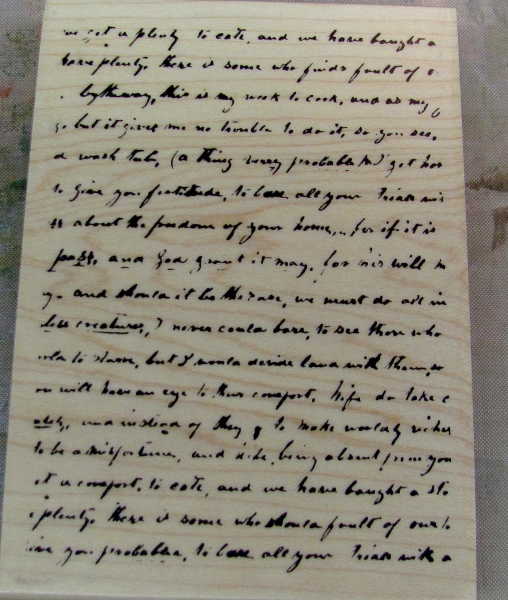
I selected the 'unreadable text' stamp.
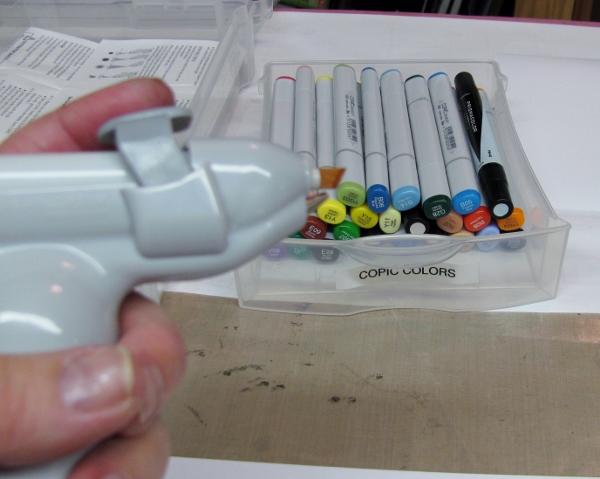
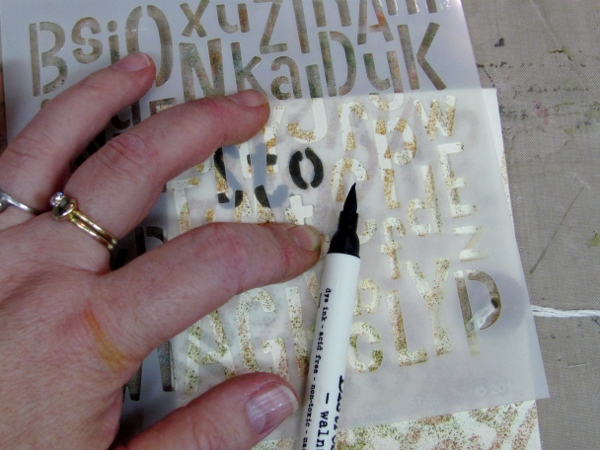
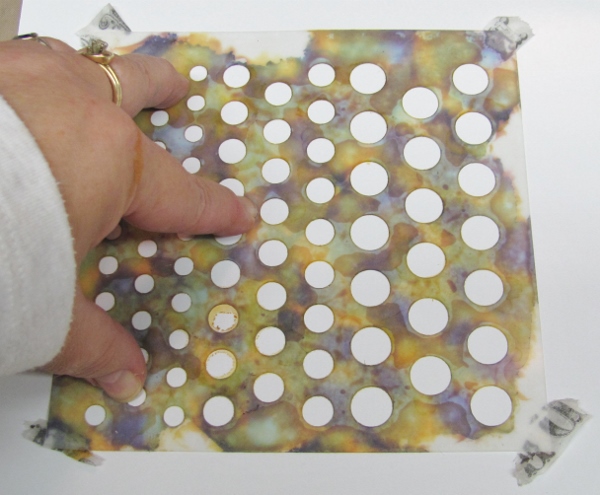
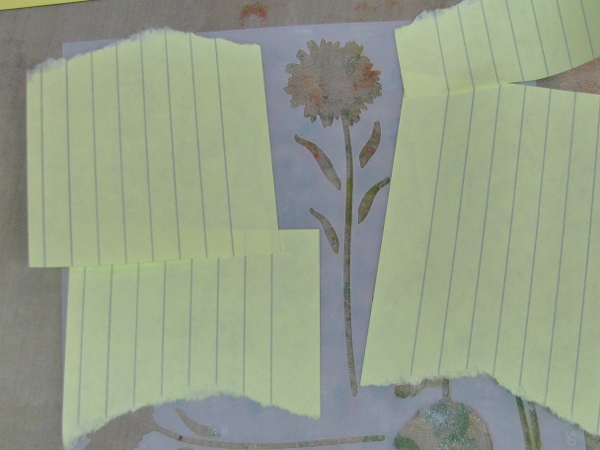
The stencil areas not to be imprinted were masked off with torn post-its.
Then the stamp was inked all over while laying face-up on the table.
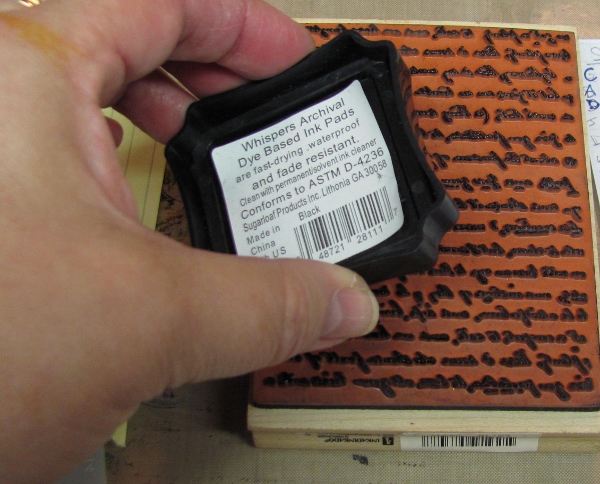
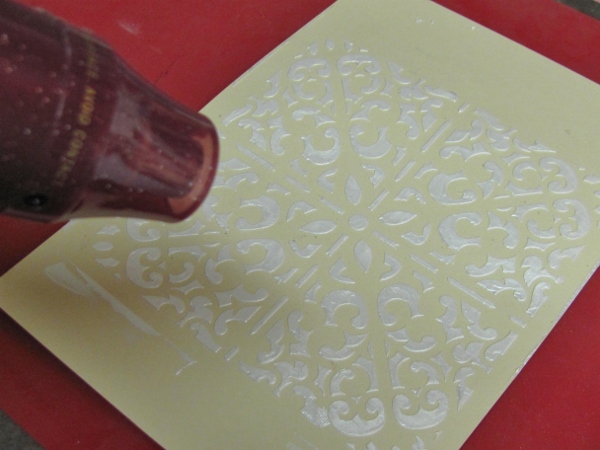
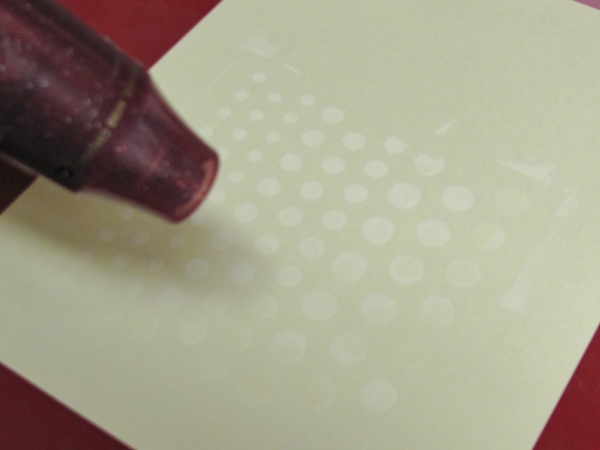
The masked stencil was placed on the inked stamp.
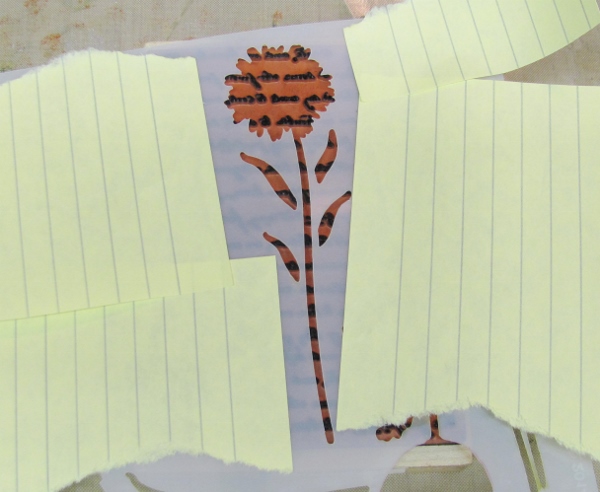
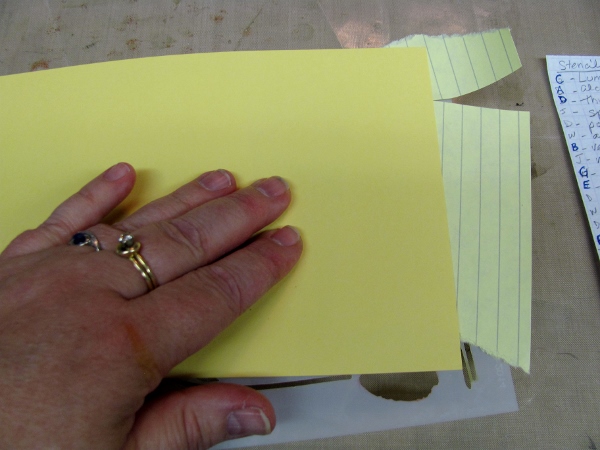
Then the dark yellow cardstock was placed on the stencil and I used my fingers to work the area over the stencil to transfer the stamped image through it to the paper. DO NOT CLEAN THE STENCIL.
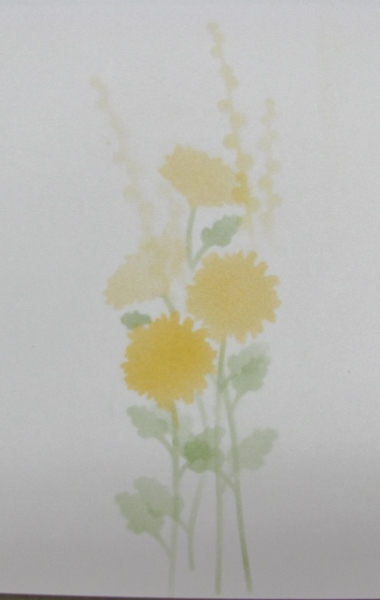
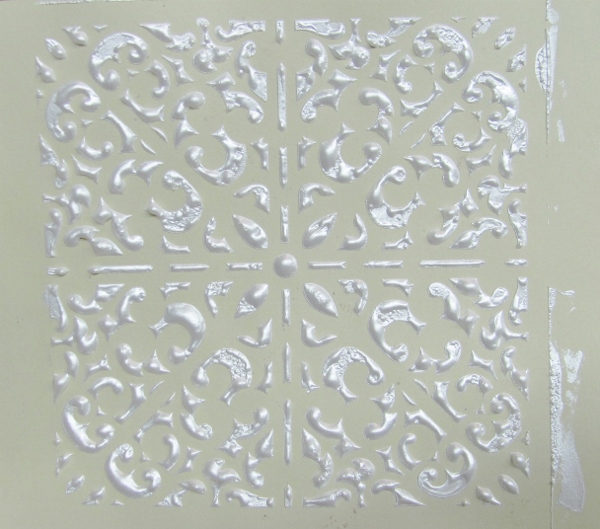
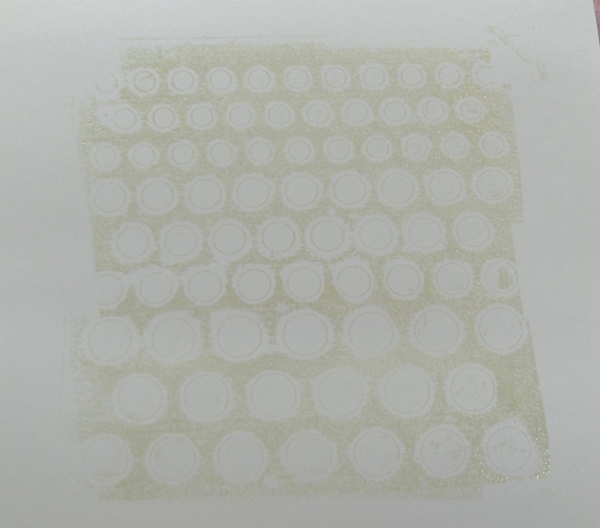
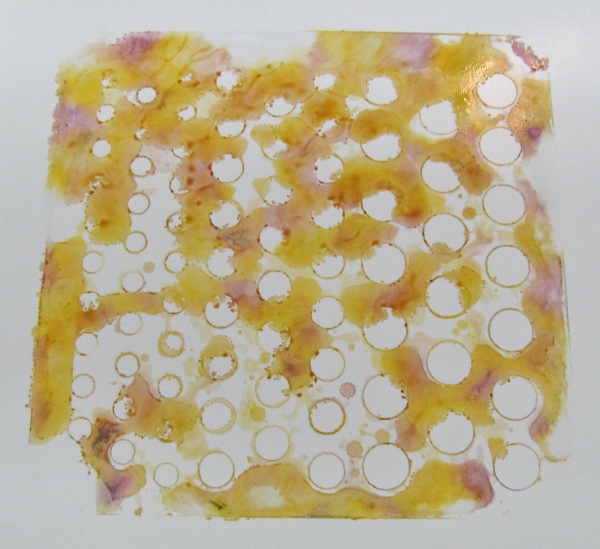
The result of a single impression.

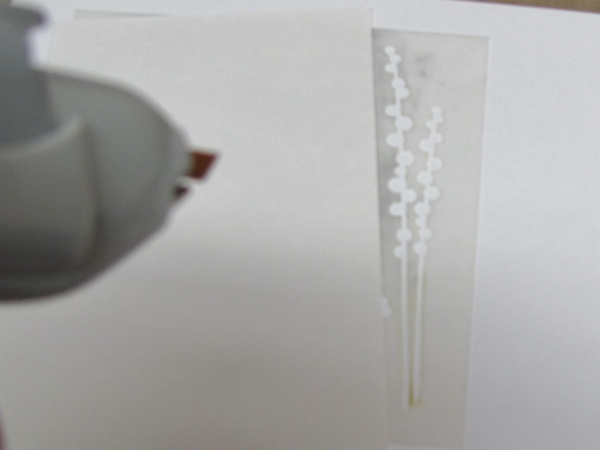
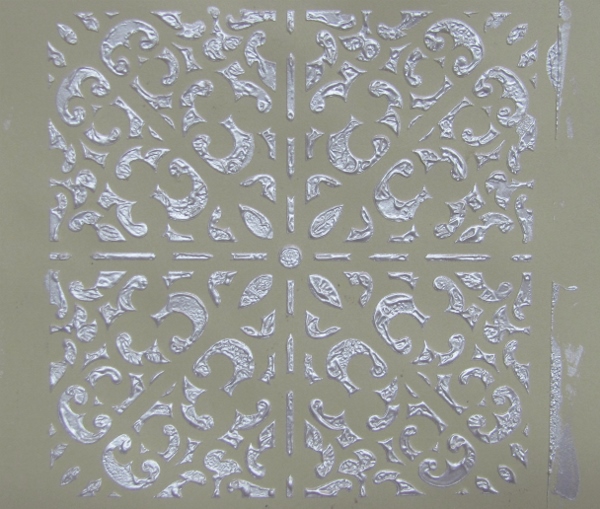
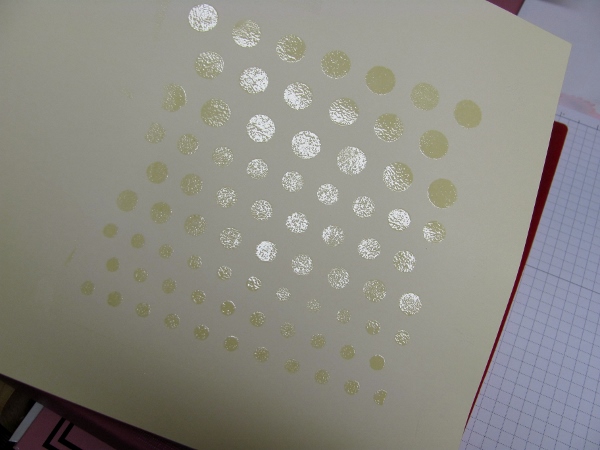
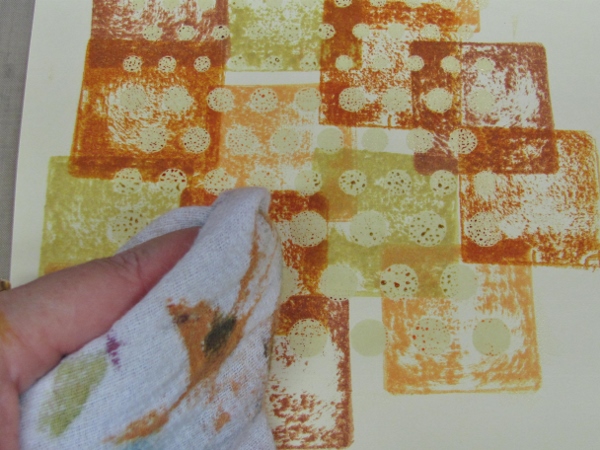
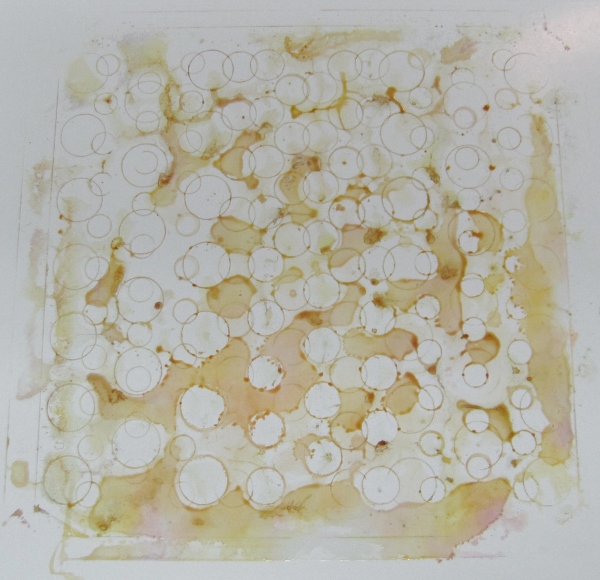
I inked the stamp and placed the stencil again and made a second impression on the cardstock. DO NOT CLEAN THE STENCIL.
Then I laid the cardstock with the image facing up and arranged the stencil over one of the stamped areas.
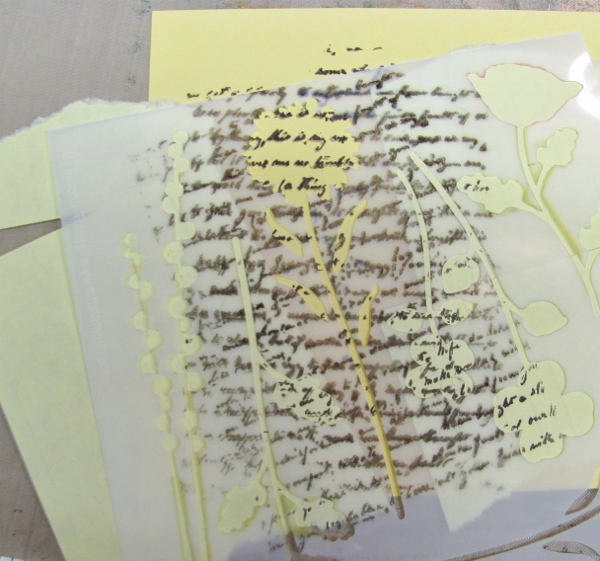
I used a bit of sponge to smear the ink on the stencil into the open area thereby turning it into a silhouette.

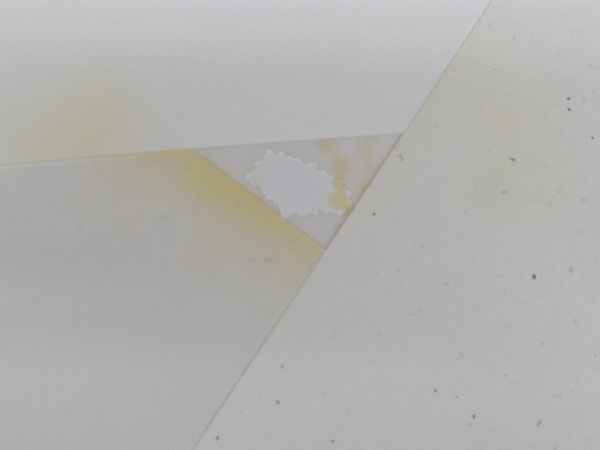
Realign the stencil and smear into the second flower and stem. You end up with this:
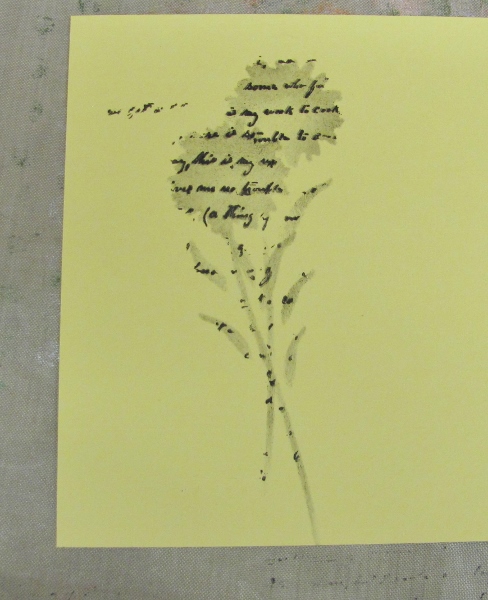
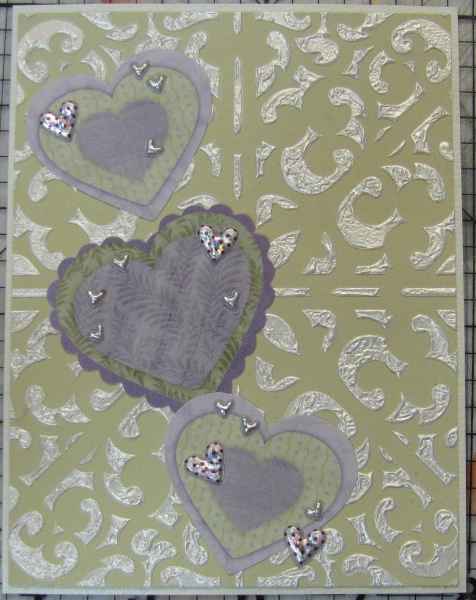
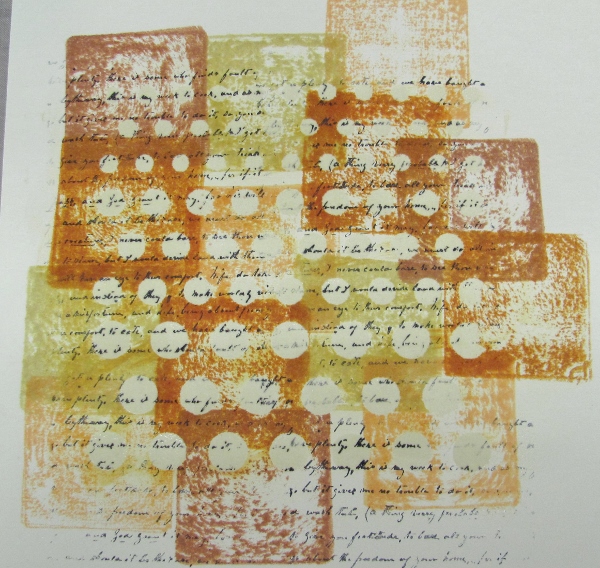
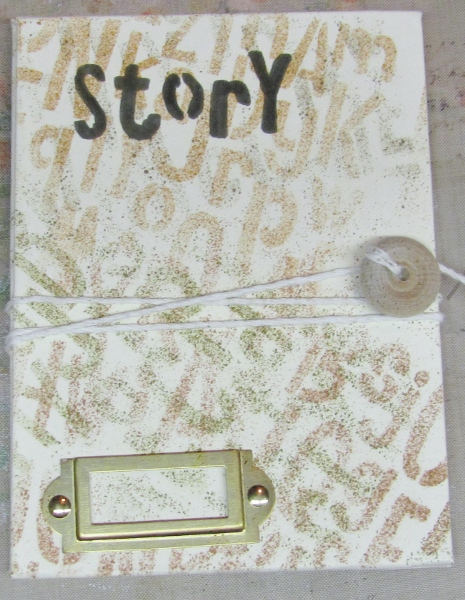
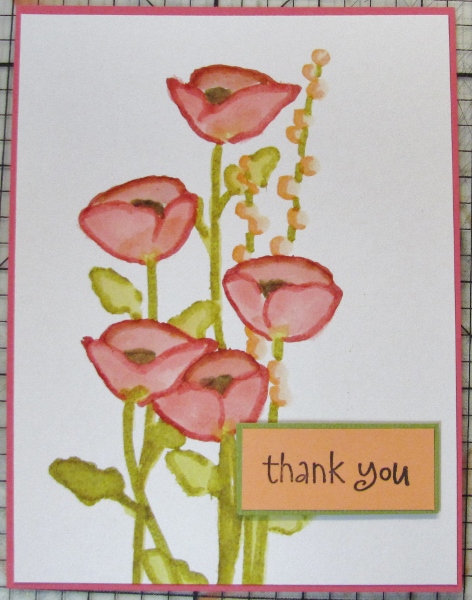
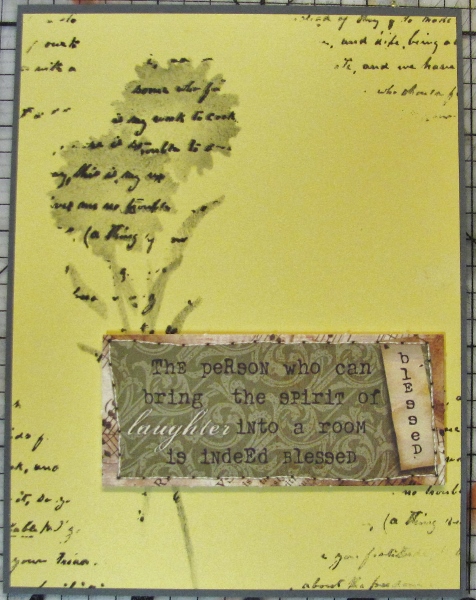
After trimming to size I used the text stamp to add decoration to the four corners. This was then mounted to a bordering color and decorated with a die-cut tag.
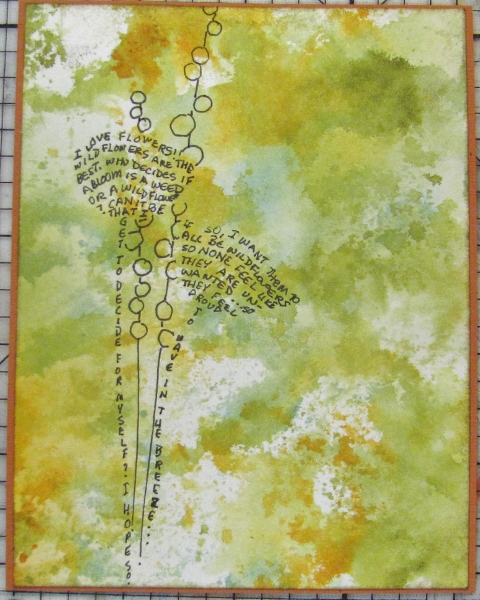
I wanted to continue with the theme of text decoration but had an idea about using journaling as the 'fill'.
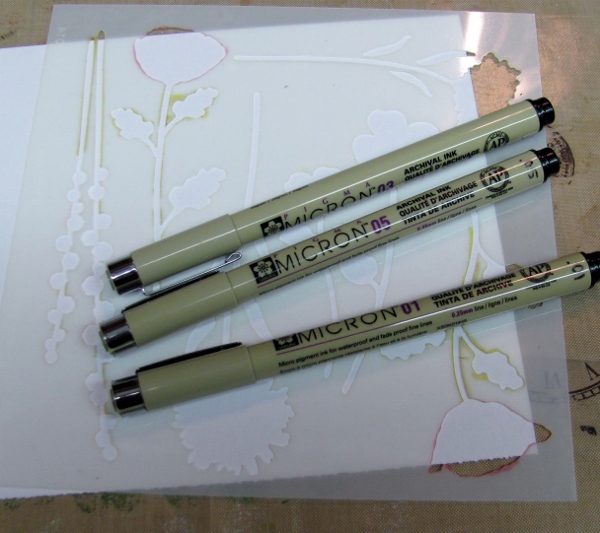
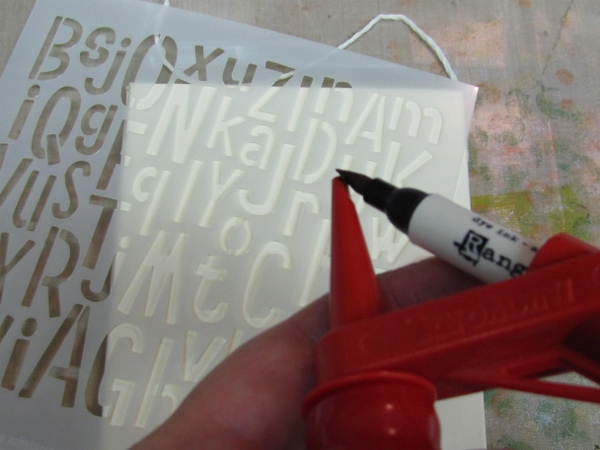
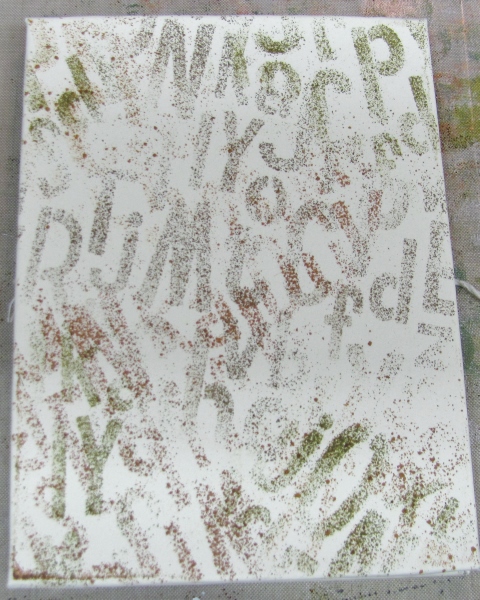
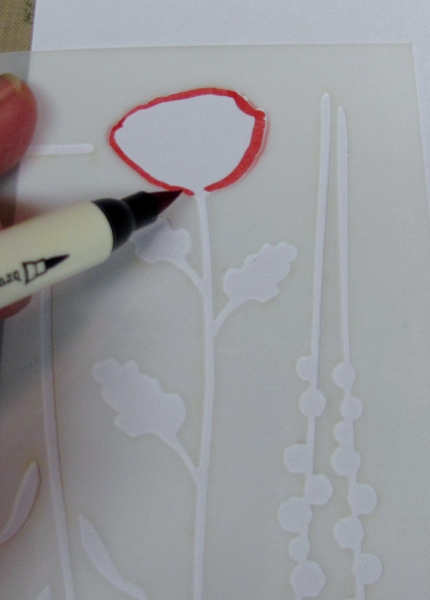
I placed the poppy stencil on white cardstock and used a very fine line marker to write within the bounds of the silhouette. When I got to the stem I made the journaling vertical, leaving out the leaves entirely.

I used the second poppy stencil to add more journaling. Then I placed the sprig and drew in the circles and a single line of stem.
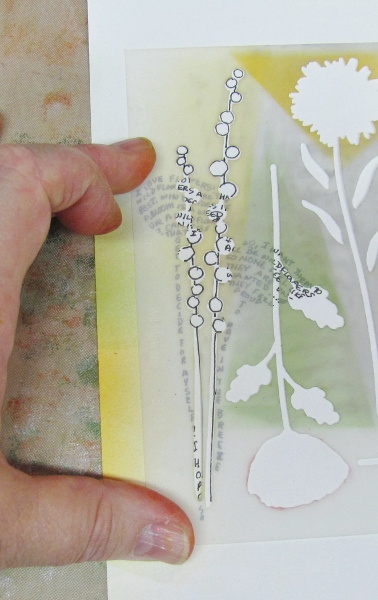
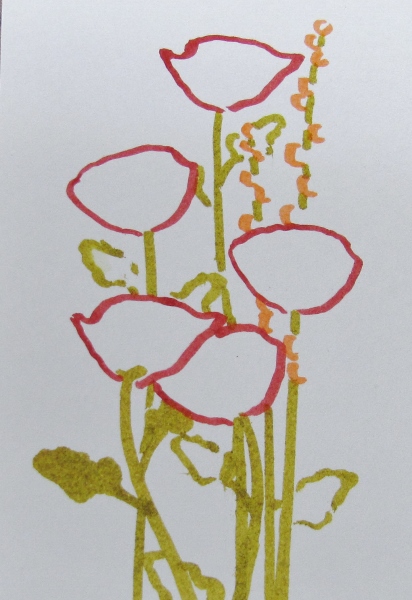
The result was a lot of fun but not quite there.

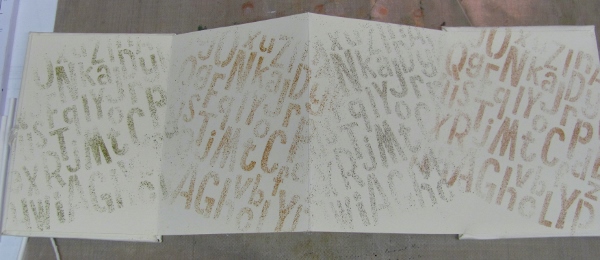
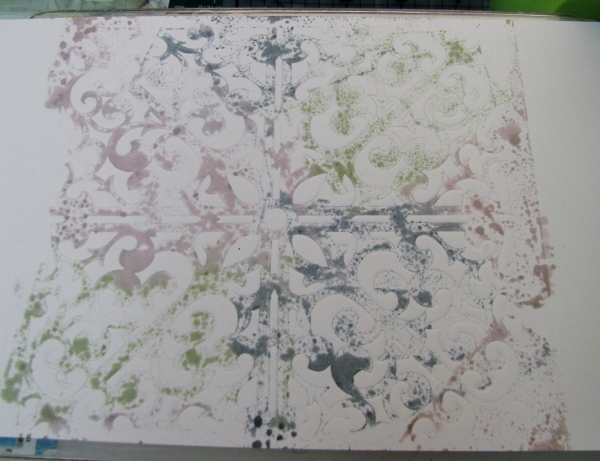
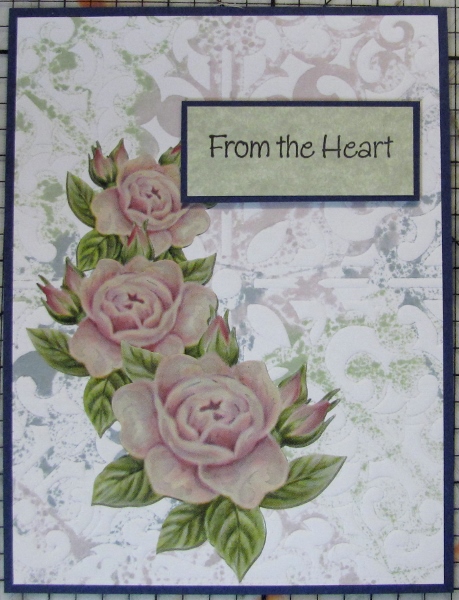
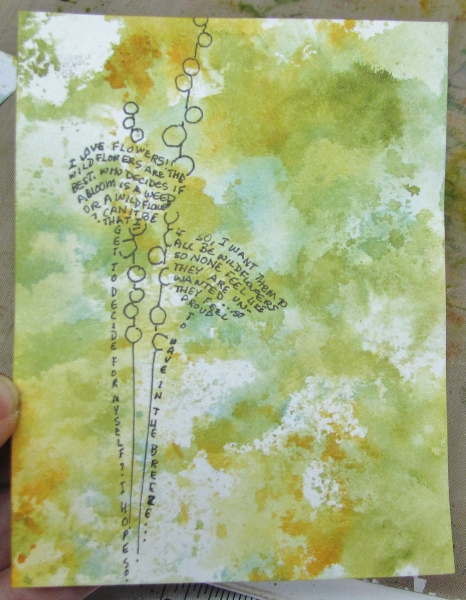
I used the wrinkle free distress technique from Tim Holtz to color the background.
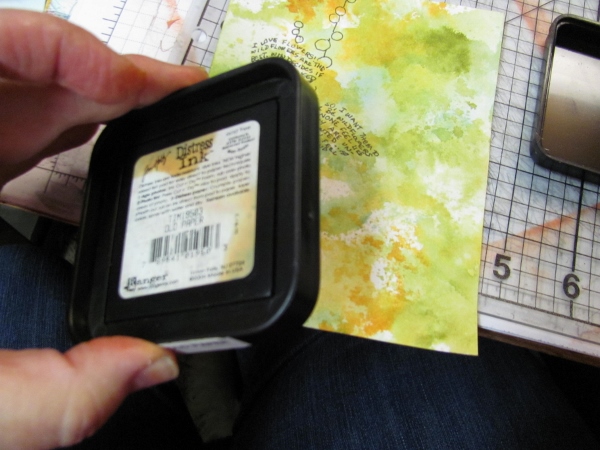
After trimming to size I used some 'Old Paper' Distress Ink direct-to-paper to tone the edges.
It got a very simple finish by mounting it to a rust-colored bordering panel.
This might be a fun technique to use on a scrapbook page, too.
Ddd